First Decision: Is It Jacket Only
This is the only question that really matters. Inspect the damage carefully under good light.
- If you can see only the bedding or armour under a removed jacket section — repairable
- If you can see the metallic screen the semiconductive layer or the core insulation — not repairable, cut out and joint
- If any conductor strand is cut or deformed — not repairable, cut out and joint
- If the cable has been crushed rather than abraded — assume internal damage and test before deciding
A jacket only repair does not reduce the electrical life of the cable. A repair over damaged core insulation is a failure waiting for a convenient moment.
Second Decision: Sleeve or Tape
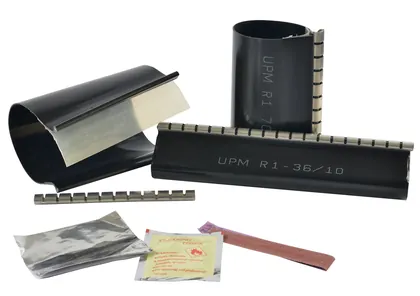
A wraparound sleeve is stronger, faster and gives better abrasion resistance. Use it wherever the geometry allows. Tape is for the positions a sleeve cannot fit.
| Situation | Product | Why |
|---|---|---|
| Regular cylindrical damage | R1 wraparound sleeve | Fastest and strongest |
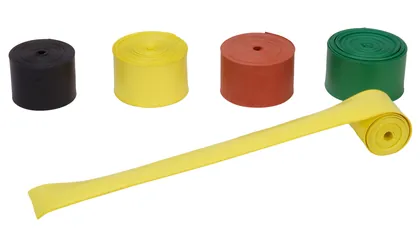
| Damage near a cleat or fixing | T1 tape | Conforms where a sleeve cannot |
| Tee or branch geometry | T1 tape | Wraps any shape |
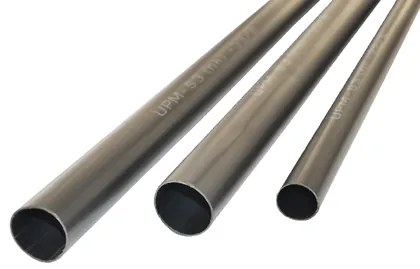
| Free cable end available | S3 family tube | Cheapest per metre |
Surface Preparation Is the Whole Job
Nine out of ten failed repairs are preparation failures, not product failures.
- Clean at least 100 mm of sound jacket on each side of the damage
- In a marine or coastal environment wash the salt off with fresh water first — solvent alone does not remove salt
- Dry the surface completely before applying any adhesive
- Lightly abrade a glossy jacket so the adhesive has something to key into
- Wipe with solvent last, in one direction, and let it flash off
Making the Repair
- Wrap the sleeve and engage the rail and channel closure along its entire length before applying heat
- Start heating at the centre and work outward to each end so air is expelled from both sides
- Keep the flame moving — a stationary flame scorches the surface
- For tape, half lap every turn so the repair is two layers thick throughout
- Finish on sound material at least 50 mm past the damage
Checking and Recording
A continuous bead of adhesive at both ends and along the closure is the confirmation that the repair is sealed. No bead means no seal regardless of how the outside looks.
Record the repair position and date in the network record. A repaired cable is a perfectly serviceable cable but the next person to work on that route should know the repair is there.