
Medical Parts
Clear and thin wall medical components molded from tools finished to an optical cavity standard
All 9 Medical Parts
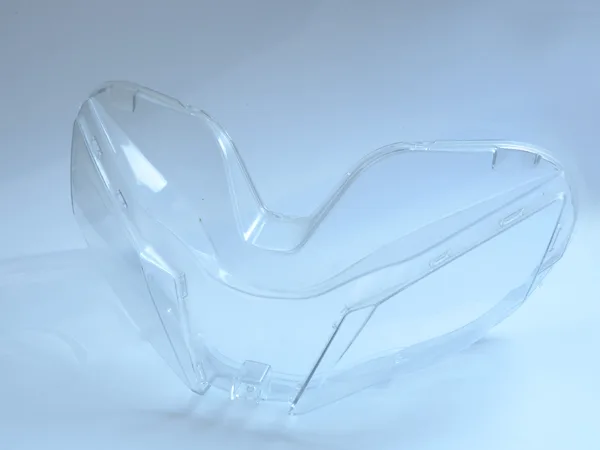
Clear Medical Optical Cover
Optically clear V-profile cover with polished surfaces on both faces.
View details →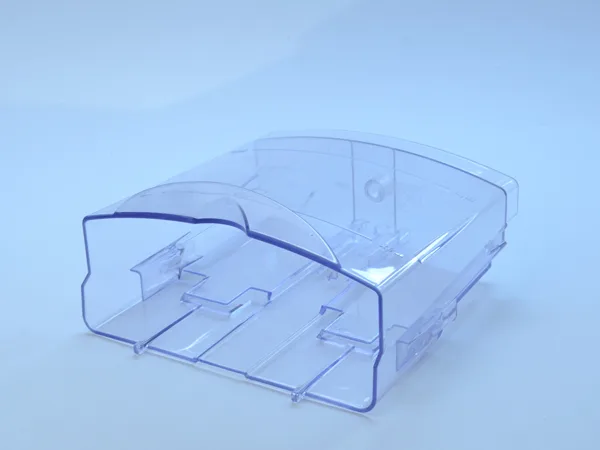
Transparent Medical Cassette Housing
Clear rectangular cassette with internal dividing ribs and a stepped sealing edge.
View details →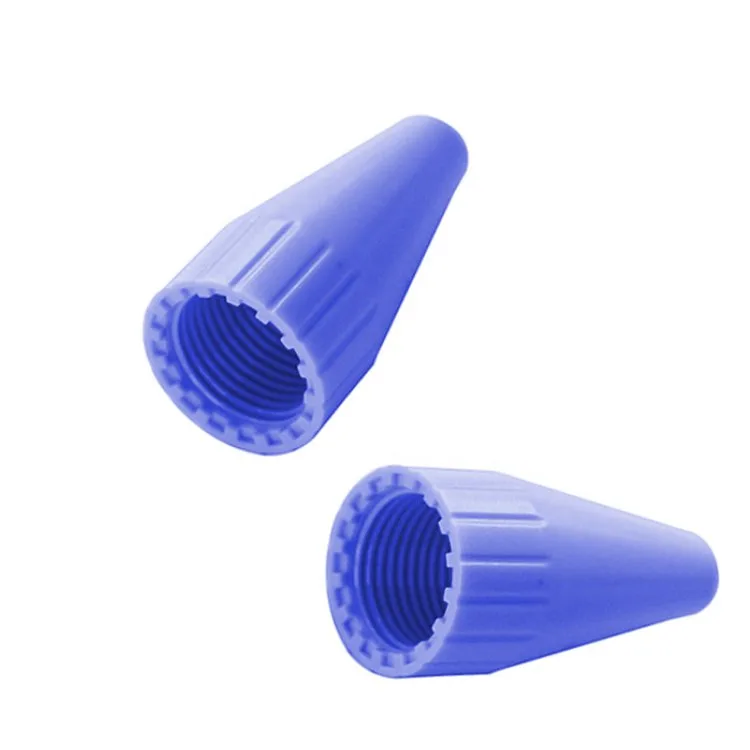
Blue Medical Connector Cap
Conical cap with an internally threaded bore and an external grip knurl.
View details →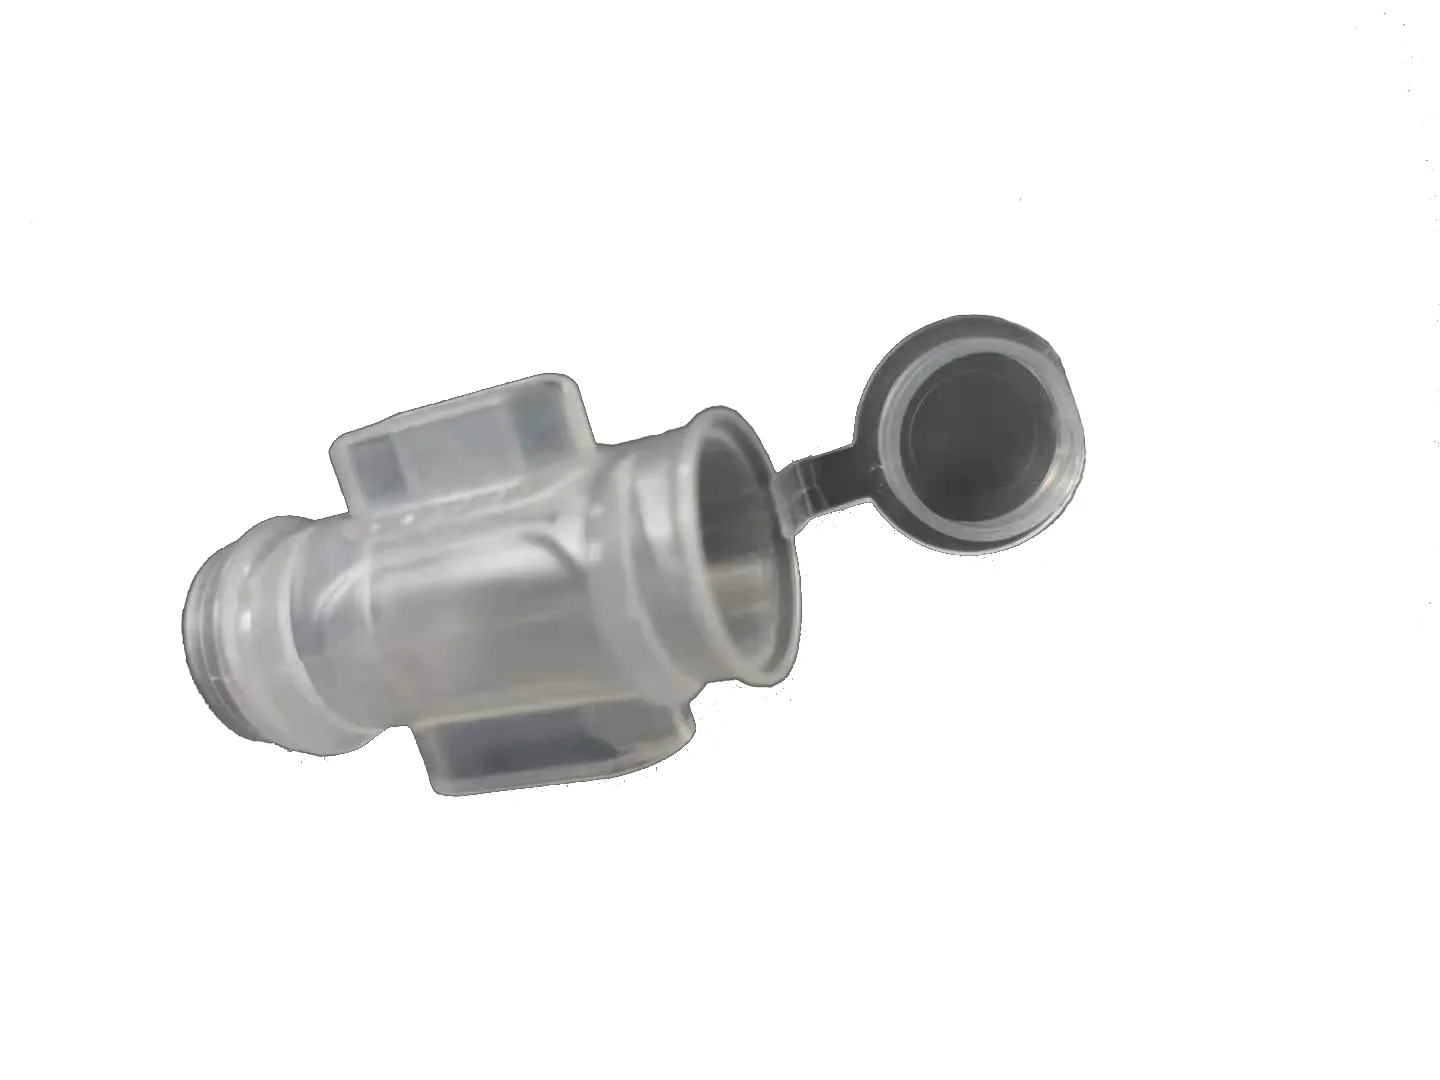
Medical Valve Body with Tethered Cap
Clear valve body with side ports and a living-hinge tethered closure cap.
View details →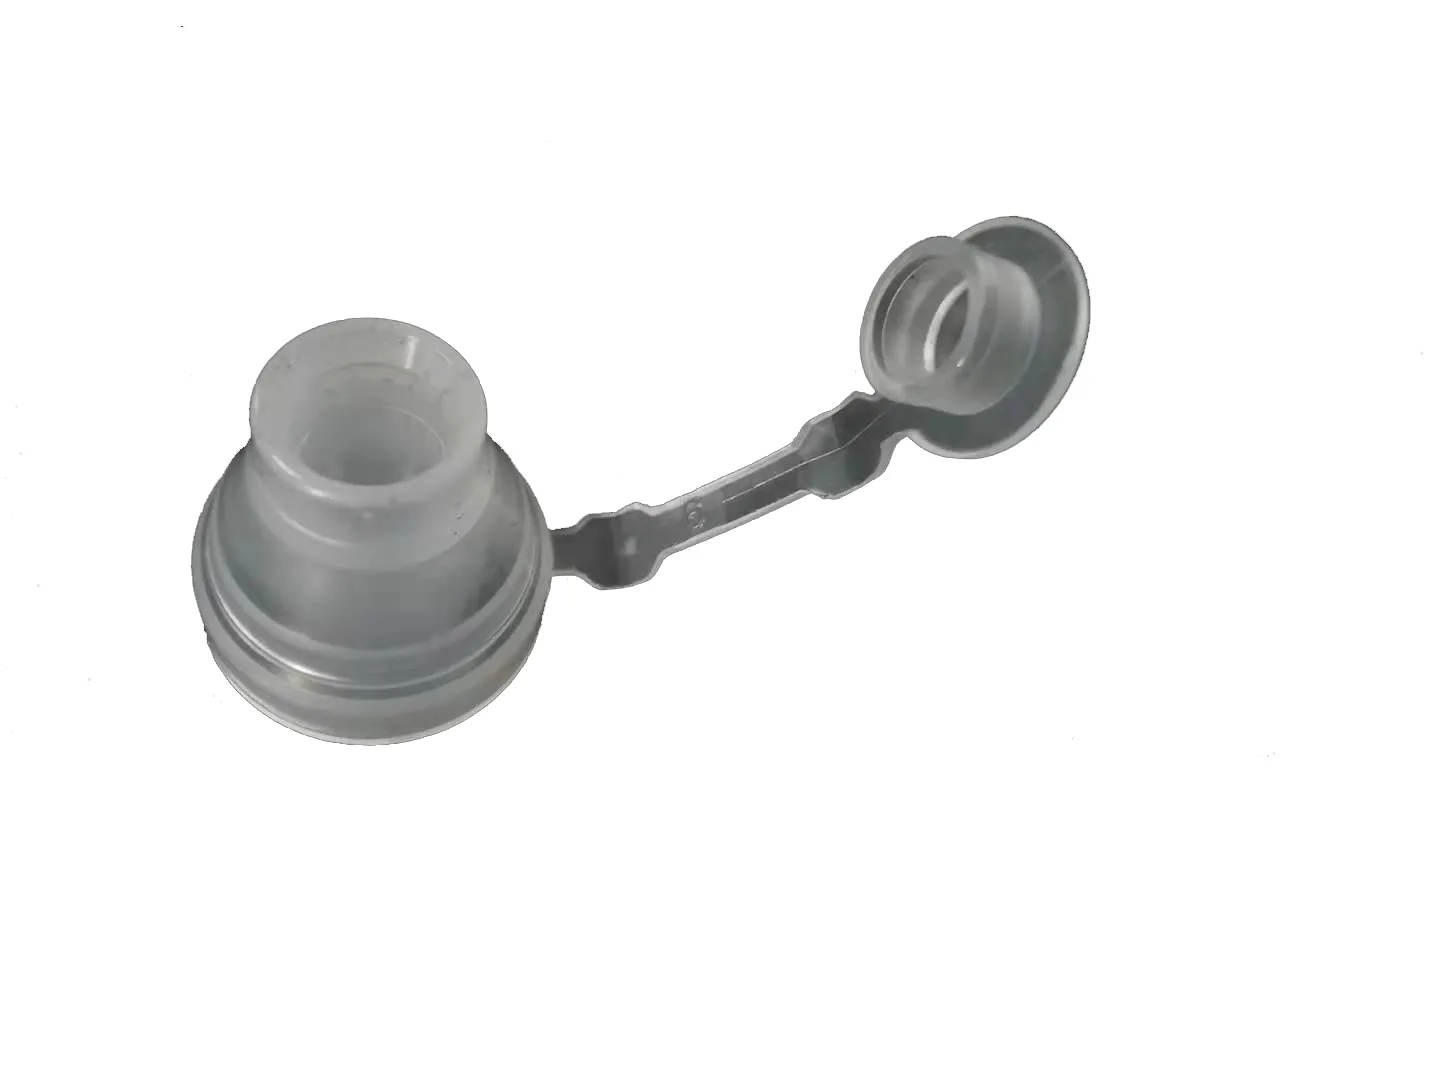
Medical Port Fitting with Tethered Cap
Port fitting with a stepped sealing face and a tethered cap on a molded strap.
View details →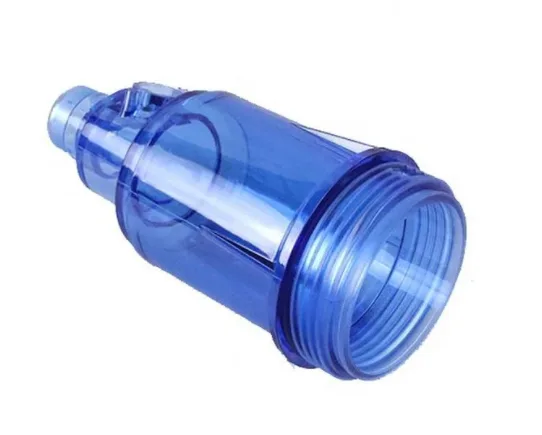
Blue Transparent Filter Chamber
Tinted transparent chamber with a threaded neck and an integral inlet spigot.
View details →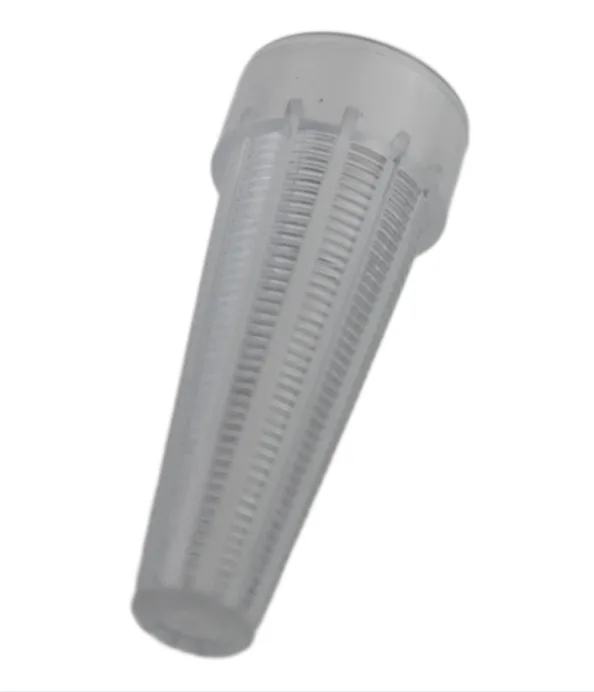
Medical Filter Insert
Frosted conical insert with fine longitudinal slots molded through the wall.
View details →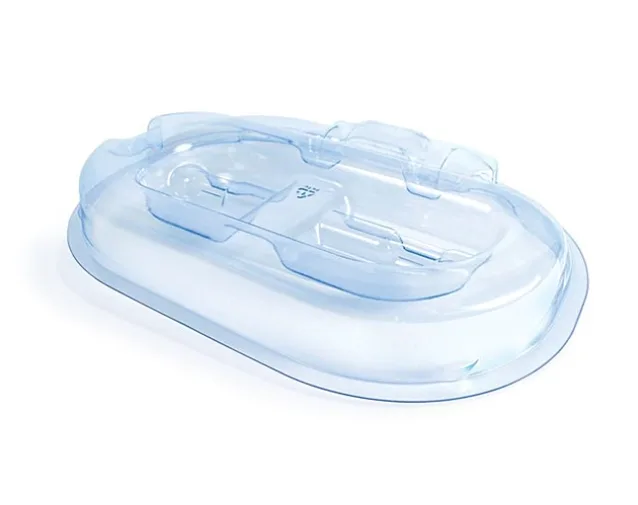
Clear Medical Seal Component
Thin-wall clear component with a raised sealing bead and an internal channel form.
View details →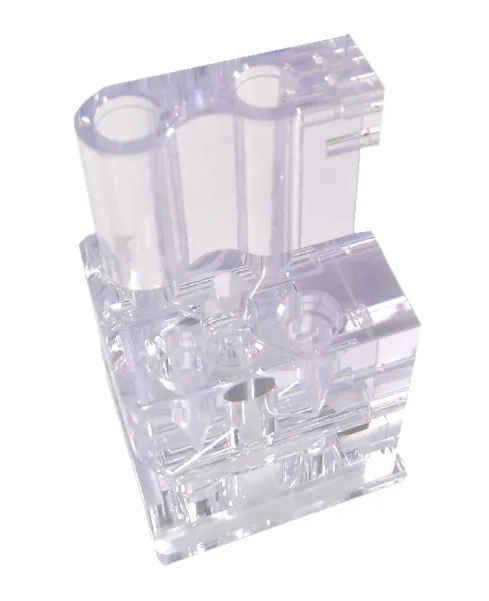
Clear Diagnostic Cuvette Block
Multi-chamber clear block with flat optical windows and stepped locating features.
View details →What Goes Wrong Here
On a clear medical part every tool defect becomes a visible defect. A polishing scratch, a faint weld line across a viewing window, a short shot in a slotted filter wall — none of it can be sanded out after molding.
Our Answer
Clear tooling is finished to a mirror polish on the cavity face and inspected before first trial, and the sample dimension report from that trial goes to you with the FAI before anything moves to production.
Who This Is For
- Disposable device manufacturers
- Diagnostic and laboratory equipment makers
- Fluid handling and infusion set assemblers
- Device OEMs qualifying a second tooling source
Where These Parts Are Used
- Connectors, caps and port fittings
- Filter chambers and strainer inserts
- Diagnostic cuvettes and optical windows
- Clear housings, cassettes and covers
From Enquiry to Delivered Tool
- Step 1
Quotation within two working days from your 3D data, resin and volume
- Step 2
Full 3D mold design completed and reviewed, with the DFM sent for your comment
- Step 3
CNC and EDM machining with inspection after machining and on the electrodes
- Step 4
Mold trial, trial report and sample dimension report, then final and packing inspection
Medical Parts — Questions We Are Asked
How many medical parts do you show?
9, all photographed from our own work. Each one has its own page with the tooling route behind it.
What is the lead time on tooling for medical parts?
Lead time depends on the size of the tool, the number of cavities and the side actions involved, so we put it in the quotation rather than publishing one figure. The quotation itself comes back within two working days. Programme lead times: TBC per project.
Which mold standard will you use?
Yours if you have one. Otherwise DME, Meusburger, HASCO, Progressive or MISUMI — naming it in the enquiry avoids re-specifying components later in the design.
Will we see a design before you cut steel?
Yes. The mold design is completed to one hundred percent detail, checked in a design review meeting, and sent to you together with the DFM for comment before fabrication starts.
What do you need to quote medical parts?
3D part data, the resin, the expected annual volume and the mold standard. With those four items we can quote without a second round of questions.
Quote a Medical Part Tool
Send us the part and the volume. A professional mold quotation with technical comment comes back within two working days.