
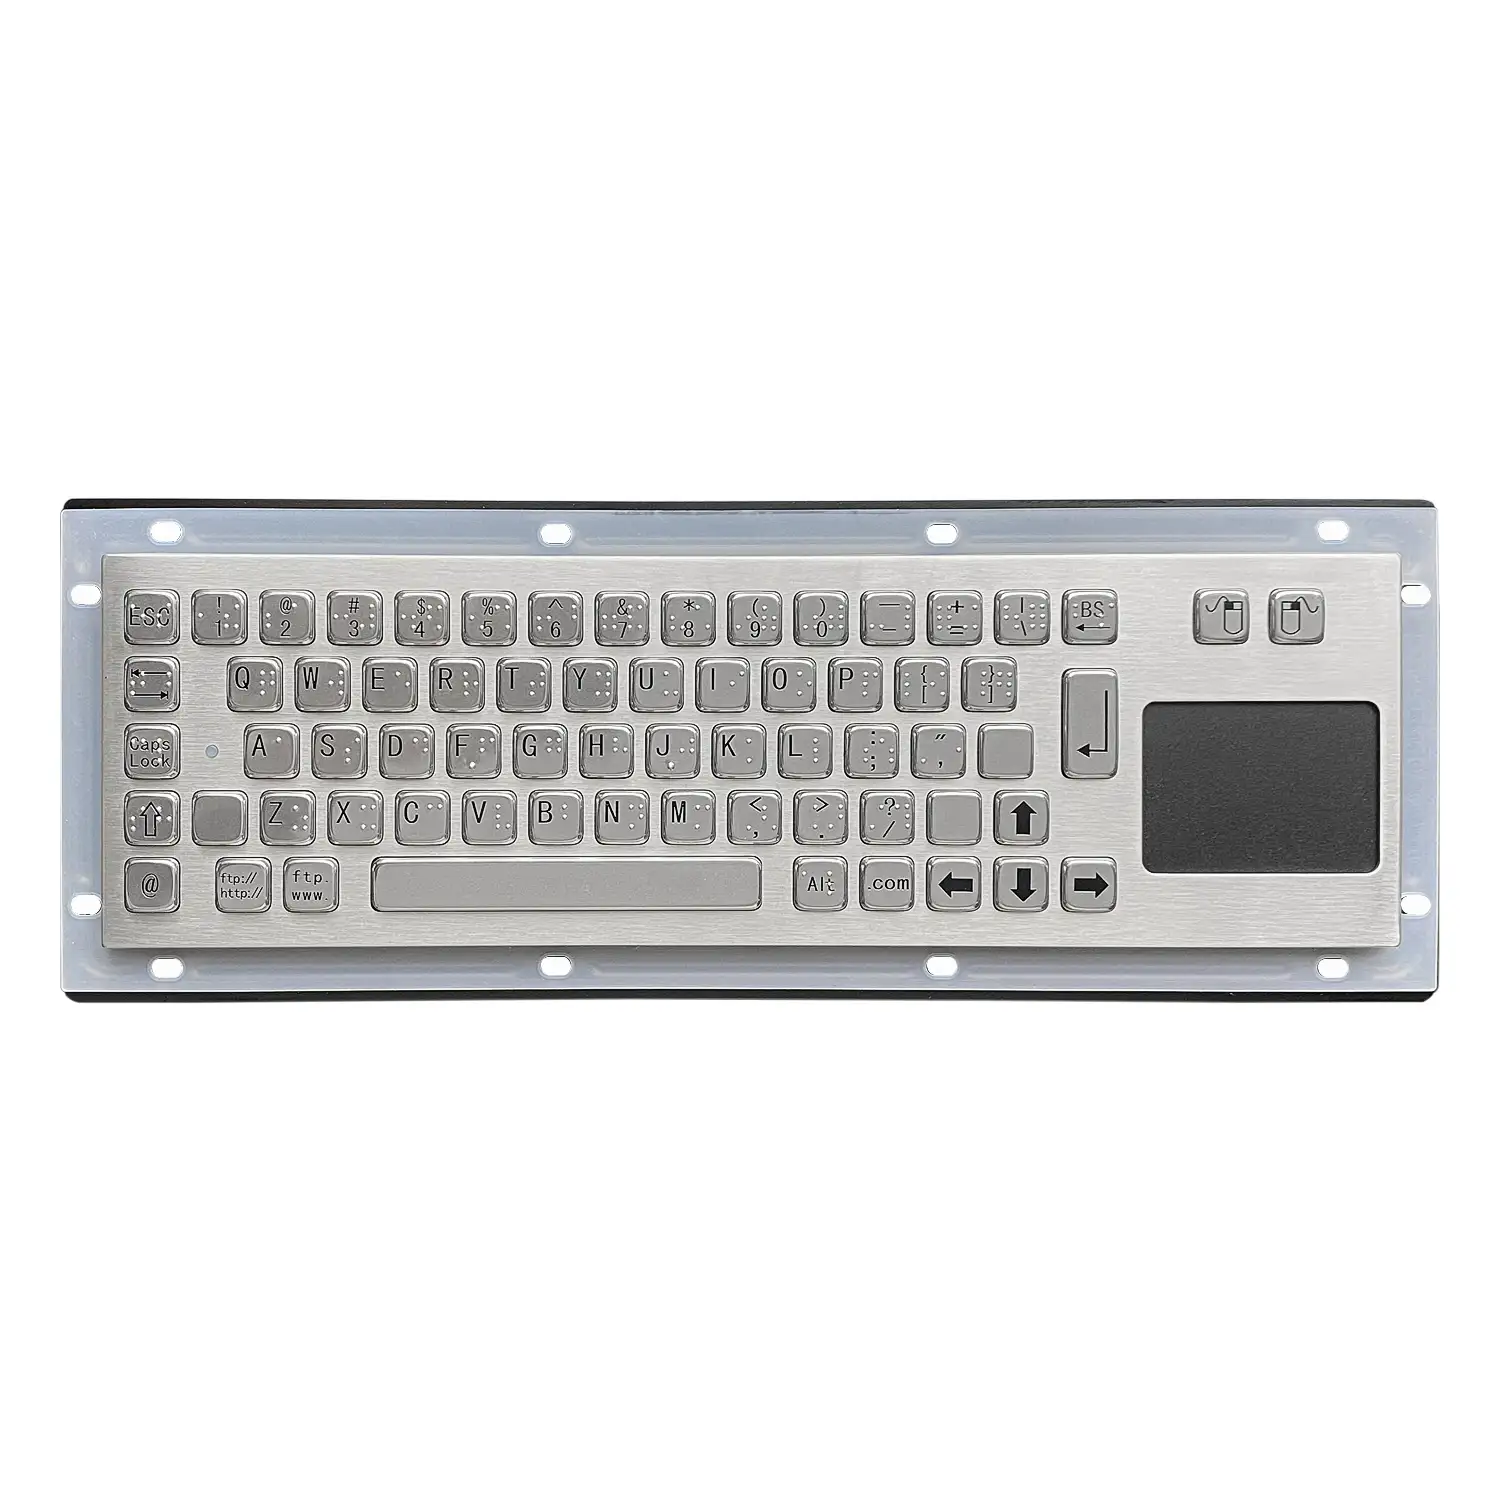
How to Strip Clean and Reassemble a Metal Keyboard
Disconnect and Shake Out Loose Debris
Shut the computer down before touching the keyboard, then unplug the connector from the host. On older PS/2 hardware the keyboard plug is the purple one. With the unit disconnected, turn it on its side and tap it gently so that loose dust, crumbs and grit fall out of the key gaps. This costs a minute and removes a surprising share of the contamination before any tools come out, which means less debris falling into the electronics once the housing is open. Work over a bench or a tray rather than over the equipment you have just shut down.
Remove the Back Cover
The rear face of the keyboard carries a number of fixing screws. Use a Phillips driver, turn each screw counter-clockwise, and keep all the screws together in one place so none are lost. With the screws out, lay the keyboard face down and work a flat blade screwdriver into the seam of the back panel. The shell then lifts away and the internal structure is exposed. Take your time at the seam rather than forcing it, as clips around the edge can break. At this point you can see the base plate, the membrane stack and the routing of the internal wiring.
Clean the Three Membrane Layers
Sitting in the base plate are three layers of film: a lower contact layer, a middle isolation layer and an upper contact layer. The upper and lower layers carry printed metal circuit traces and round metal contact pads that line up with each key. The middle layer is a clear film punched with holes that align with those contacts. Lift the stack out and brush dust and dirt away from the key areas with a dry cloth or a soft brush, or wipe with water and air dry fully. If a round metal contact has oxidised, clean the oxide off gently with a rubber eraser rather than any abrasive.
Remove and Wash the Keycaps
The keys sit in the front panel, with a rubber pad layer between them and the membrane stack. The raised sections of the rubber pad line up with each key and are what transmit the press to the contacts. Take the rubber pad out first, then push the keys out from the underside with a driver. Large keys such as Shift, the space bar and Enter carry a metal stabiliser bar, so release those carefully. Record the key positions before you start, by photograph or sketch, because there is no reliable way to rebuild the layout from memory. Wipe the keys and pads with a damp cloth, adding detergent for heavy soiling, then air dry.
Clean the Panels and Base
Lift the circuit board out of the base, then clean the front panel, back panel and base itself with a brush or damp cloth. Dirt collects most heavily around the front panel where the keys pass through, and a cloth alone often will not shift it from the joints. A cleaning machine handles that residue better than hand wiping if one is available. This is also the moment to look for anything you would otherwise miss with the unit assembled: corrosion on the base, damaged cable insulation where it enters the housing, or cracked mounting bosses around the screw positions.
Reassemble in Reverse Order
Only start rebuilding once every part is completely dry. Fit the keys first, following your record of the layout and checking the orientation of each one. Return the circuit board to the base and tidy the internal wiring. Place the rubber pad so each raised section lines up with its key. Lay the three membrane layers back on top of the pad and check the seating: the base usually has raised screw bosses, so align the round holes in the films one by one with those positions. Holding the keyboard upright while fitting the pad and films makes alignment easier. Finally refit the back panel and tighten all screws.
When a Strip Down Is Not the Right Answer
This full teardown suits a standard contact-type keyboard that has become unreliable or heavily contaminated. It is the wrong approach for a sealed industrial unit rated IP65 or above, where the seal is the product feature and opening the housing destroys it. Sealed keyboards are designed to be cleaned in place, wiped down or washed on the surface without disassembly. Check the rating of the unit in front of you before reaching for a screwdriver, and if it is a sealed model, clean the exterior and leave the housing closed.
Questions On This Topic
What tools do I need?
How do I get the keys back in the right positions?
Can I use water on the membrane layers?
Should I open a sealed IP-rated industrial keyboard to clean it?
Put This Into A Specification
Send us the application and we will tell you which of these choices actually matter for your terminal.