
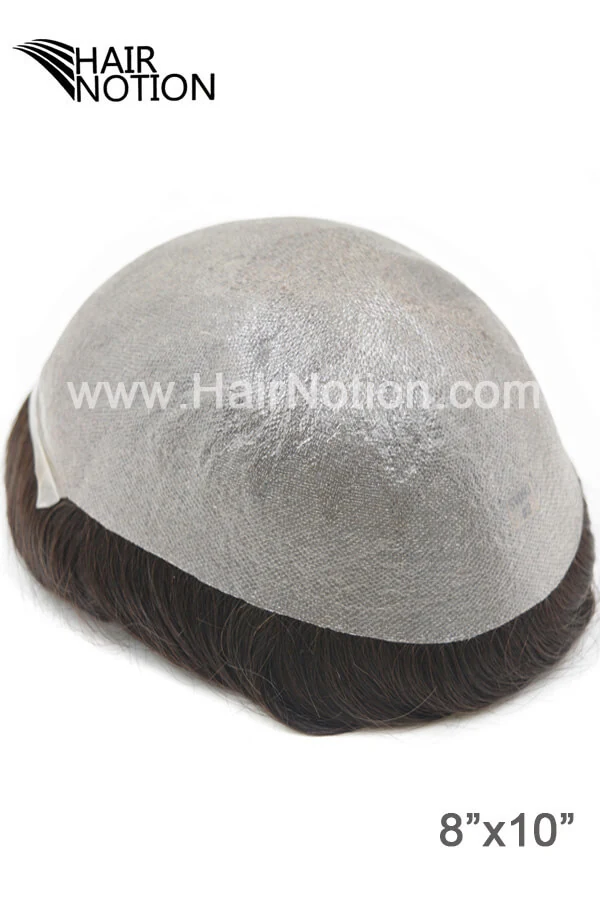
How To Install A Poly Skin Hair System
A poly skin hair system uses a transparent polyurethane base that mimics real scalp, with hair tied or looped into it for a seamless look. Here is how to install one step by step, with tools and techniques that make it simple for first-time users.
What A Poly Skin Hair System Actually Is
A poly skin hair system is built on a thin sheet of polyurethane, not lace or monofilament. The base is transparent and takes on the colour of your own scalp underneath, so there is no visible mesh or knotting at the hairline.
Hair is attached using methods like V-loop, tiny knots, or injected hair techniques. These eliminate visible knots and make the hair appear to grow directly from the scalp, which is why the front looks so natural.
Why The Front Construction Matters
The front of a poly skin system is where the look is made or broken. A V-loop front has no knot at all - the hair is looped into the base and comes back out, creating a clean, invisible hairline.
Tiny knots are small and can be bleached to match your scalp. This reduces visibility but does not eliminate the knot entirely. Both methods are used depending on the desired look and durability.
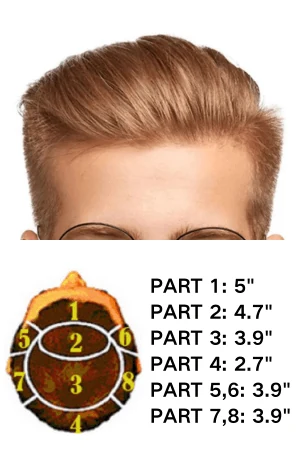
See 0.04MM Super Thin Skin Hairpiece With Brush Back Hairstyle →
Tools You Need Before You Start
Having the right tools makes installation faster and more accurate. You don't need a salon - just a few basic items.
Hair clippers or a razor help trim your natural hair to the right length. A scalp protector prevents irritation. Toupee tape or liquid adhesive secures the unit. Alcohol or adhesive remover cleans residue. A comb or brush shapes the hair. A mirror - preferably two - helps you see the back and sides.
- Hair clippers or razor for trimming natural hair
- Scalp protector to prevent irritation
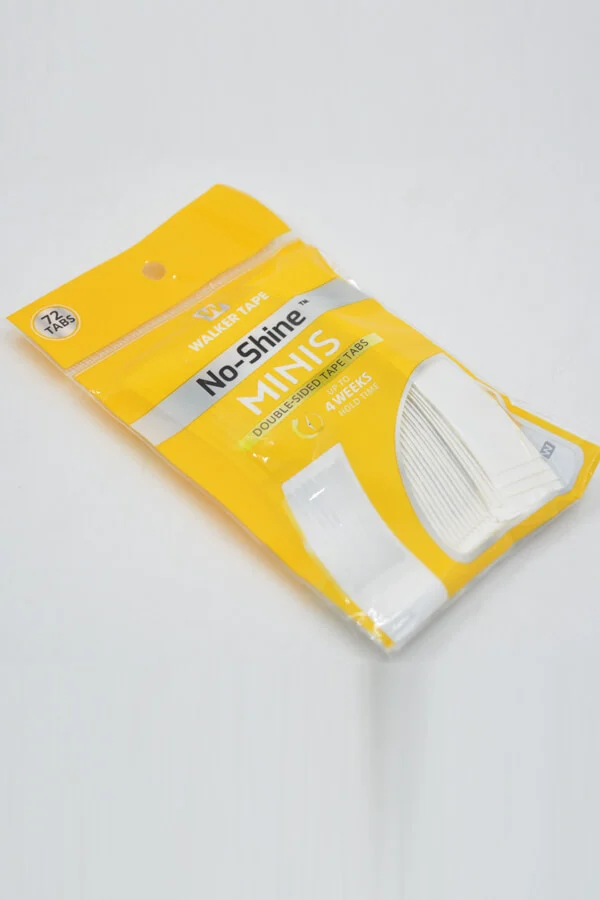
- Toupee tape or liquid adhesive for attachment
- Alcohol or adhesive remover for cleaning
- Comb or brush for styling
- Mirror (preferably two) for visibility
Step-By-Step Installation Guide
Begin by cleaning your scalp and ensuring it is dry. Trim your natural hair to the desired length - typically short or shaved - so the base sits flush.
Apply adhesive to the poly skin base using a brush or applicator. Use a thin, even layer. Let it become tacky for 30 to 60 seconds before attaching.
Position the unit at your hairline, starting from the center and working outward. Press gently to secure the front, then smooth the rest down.
Use the comb or brush to blend the hairline with your natural hair. Adjust the sides and back to match your natural parting.
Check your reflection in two mirrors to ensure symmetry and a natural look.
How To Remove And Clean It
To remove the unit, use alcohol or adhesive remover to loosen the bond. Gently peel from one edge and lift slowly to avoid pulling at the base.
After removal, clean the poly surface with a gentle wig shampoo. Avoid alcohol-based products near the front, as they can damage the bleached knots or V-loop.
Wipe the base with a damp cloth and let it air dry before storing.
- Use alcohol or adhesive remover to loosen the bond
- Peel slowly from one edge to avoid damage
- Clean with gentle wig shampoo after each removal
- Avoid alcohol-based products near the front
- Air dry before storing
Why It's Easier Than Lace Systems
Poly skin is smoother and more uniform than lace. There is no mesh to catch on the adhesive, and the surface is easier to clean after removal.
Because the base is solid, it holds adhesive better and is less likely to tear during reattachment. This makes it ideal for daily wear and frequent handling.
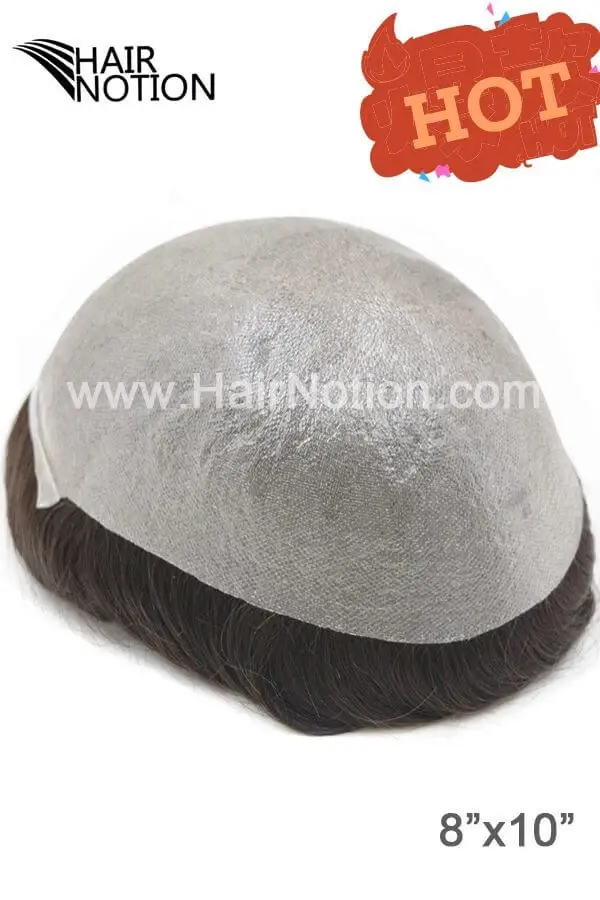
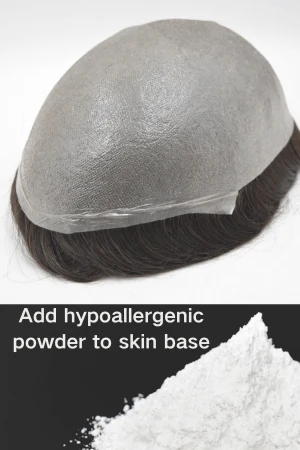
Products Covered In This Guide
Questions On This Topic
How long does it take to install a poly skin hair system for the first time?
With the right tools and preparation, first-time installation takes 15 to 25 minutes. Practice improves speed and confidence.
Can I use tape or liquid adhesive with a poly skin base?
Yes. Both tape and liquid adhesive work well on poly skin. Liquid adhesive gives a stronger bond, while tape is easier to remove and reapply.
Will the poly skin base damage my scalp?
Used correctly, it should not. Keep the scalp clean, remove the unit regularly to let your skin breathe, and avoid pulling at the adhesive.
Can I swim or shower with a poly skin hair system on?
Yes, but the bond depends on the adhesive. Use a stronger adhesive if you swim often, and rinse the base with clean water after exposure to chlorine or salt.
Do you offer custom sizes for poly skin units?
Yes. Send a template or your measurements. Custom production takes 8 to 10 weeks on the regular schedule, with rush options down to 15 to 23 days.
Is this suitable for men with balding or thinning hair?
Yes. The poly skin base covers the scalp completely and blends with natural hair at the edges. It is designed for men with hair loss, including those with partial baldness.
Can I get a poly skin system with a V-loop front?
Yes. V-loop fronts are available on many stock and custom poly skin units. They provide the most invisible hairline and are ideal for straight-back styles.
Still Deciding
Send a photo on WhatsApp and we will tell you which base type and size fits what you have described, and whether it is in stock.