
Custom Tube Tooling From Your Drawing to a Fitted First Article
A device that no catalogue profile fits is a tooling project, not a purchase order. This is how that project runs at SEWATE, and what each stage costs you in time.
Extruded tube tooling has to be designed and manufactured around the shape of the extrusion, which is why a new profile is never an off-the-shelf item. The work runs from a review of your application, through a drawing you approve, to a mould, a tooling trial and sample tubes you test on the real device before anything is mass produced.
Two numbers decide your planning. A basic low volume project can be 25-day ARO. Typical lead time is 4-6 weeks, and a complex tool or a high volume item can run 10-12 weeks. Changes made during the design stage push all of it out, which is why the drawing approval step exists.
The Route From Enquiry To Repeat Order
Four gates. Nothing moves to the next one until the previous one is signed off.
Quote
Application, key design requirements and tube functionality reviewed. The specific design process is written into the estimate.
Drawing
A drawing is created from your purchase order and issued for approval, which is your chance to adjust before tooling is cut.
Tooling Trial
Mould making and a tooling trial on the approved profile, followed by 20-50 free sample tubes.
Production
Approved profile goes to extrusion, cutting, anti-static treatment, plug fitting and carton packing.
Where Tooling Projects Actually Go Wrong
Each stage below is a real decision point, with the failure it prevents.
Application Review
Where it goes wrong: A tube is ordered against a device datasheet instead of the real body, and the first article binds on a lead or a moulded flash.
How it is handled: The review covers the application, the key design requirements and how the tube has to function on your line, not just the nominal body size.
Getting the Geometry
Where it goes wrong: There is no tube drawing, and nobody wants to be the one who guesses the internal profile.
How it is handled: Any one of three inputs works: a tube drawing, a drawing of the device going into the tube, or a sample tube. With none of them, send the physical component and the profile is measured from it.
Material Choice
Where it goes wrong: A resin is picked on price and then fails on tolerance, clarity or brittleness once parts are moving through it.
How it is handled: PVC PS PC PETG and ABS are all extruded in-house. PVC holds within 5 mils and is the usual default. Polycarbonate holds plus minus 2 mils, about 50 micron, where unattended high speed loading demands it.
Anti-Static Specification
Where it goes wrong: Surface treated tubes lose their anti-static value after repeated wiping or a long stay in a warehouse, and nobody notices until parts fail.
How it is handled: Anti-static is delivered either by a surface layer process or by additives built into the material. Tell us the storage time and the handling, and the method is specified against it.
Drawing Approval
Where it goes wrong: Changes arrive after the mould is cut, and the schedule doubles.
How it is handled: The drawing is issued for approval before tooling. Adjustments at that point cost days. Adjustments after it cost weeks.
Sample Fit Testing
Where it goes wrong: Mass production starts on an untested profile and the whole lot has to be scrapped or re-worked.
How it is handled: 20-50 free sample tubes come off the tooling trial. You load real devices and confirm they slide the full length before the run is released.
What You Have at the End
- An approved tube drawing that both sides work from on every repeat order
- Dedicated tooling held for your profile so later lots stay interchangeable
- Sample tubes tested against your own device before mass production
- A specified anti-static method matched to your storage and handling
- Matched closures: rubber end plugs, plastic pins and nails, plastic caps or EPE plugs
- Repeat orders on 5-15 day lead time against the tooling already cut
Products In This Solution
The tube families most custom profiles start from.
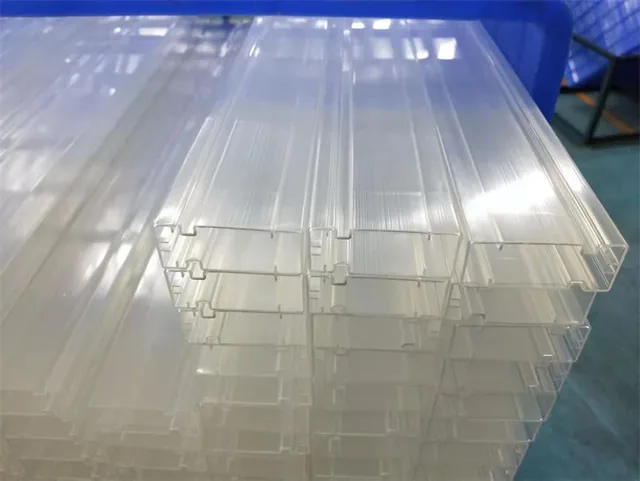
Custom IC Tubes
Custom IC Tubes are extruded plastic channels designed to match the exact profile of a specific device body, from through-hole to surface-mount components, ensuring consistent feed and protection during transport and assembly.
View Details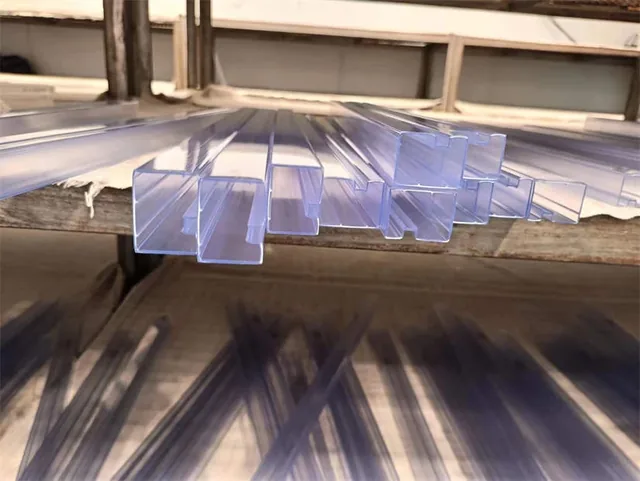
Anti Static Shipping Tubes
Anti Static Shipping Tubes are extruded plastic channels designed to protect electronic components from electrostatic discharge, mechanical shock, and environmental damage during transport and storage.
View Details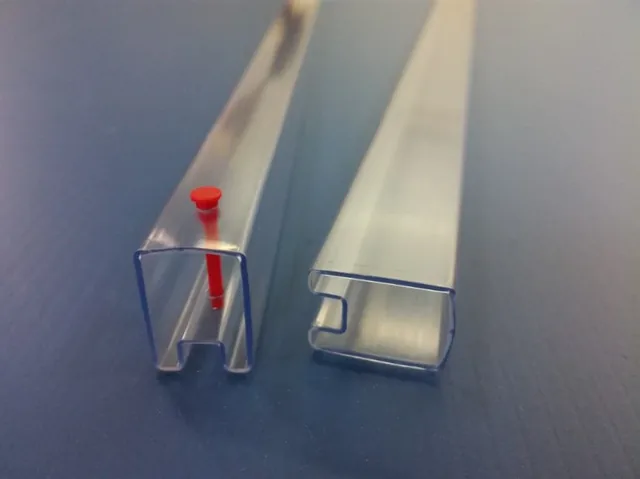
Anti-Static IC Tubes
Anti-Static IC Tubes are extruded plastic channels designed to protect electronic components from electrostatic discharge, mechanical shock, and environmental damage during transport and storage.
View Details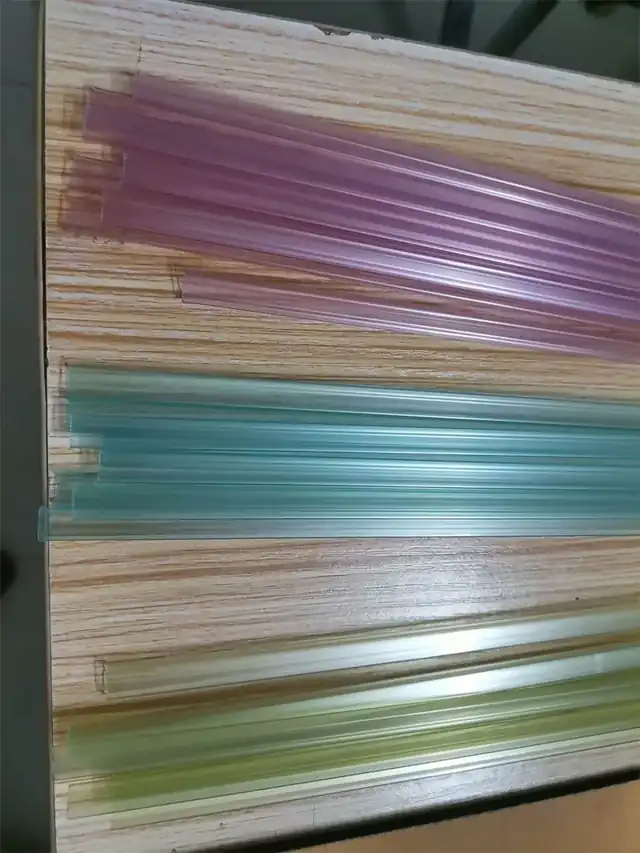
Color Anti-static Tubes
Color anti-static tubes are extruded plastic channels designed to hold electronic components in a fixed orientation from the component vendor to the pick and place machine.
View Details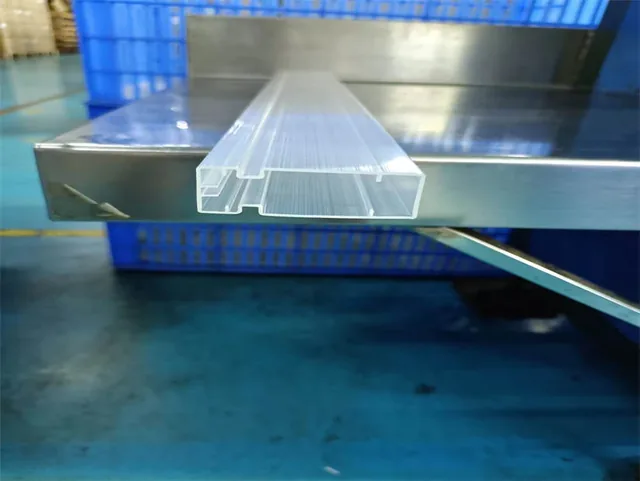
Customized Anti-Static Tubes
Customized Anti-Static Tubes are extruded plastic channels designed to match the exact profile, length, material, and anti-static level of a specific device.
View Details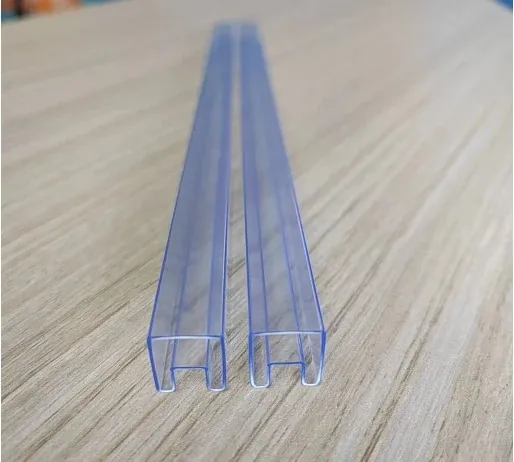
ESD Shipping Tubes
ESD shipping tubes are extruded plastic channels designed to protect electronic components from electrostatic discharge, mechanical shock, and environmental damage during transport and storage.
View DetailsRelated Guides
Read these before you send a drawing.
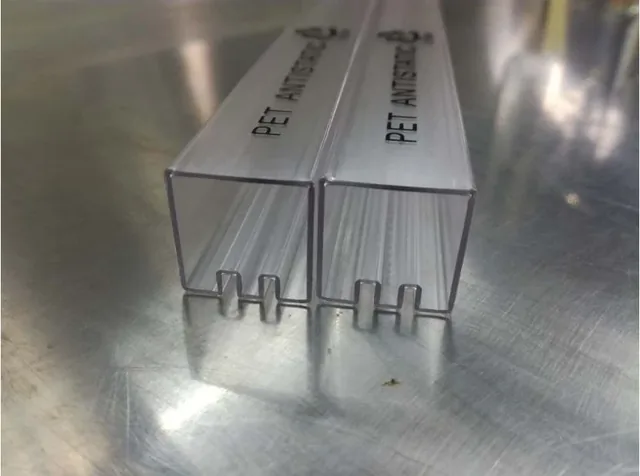
Custom IC Tubes For Specific Device Profiles
Each IC tube is extruded to match a unique device profile—shape, width, cavity depth and end plug type.
Read Guide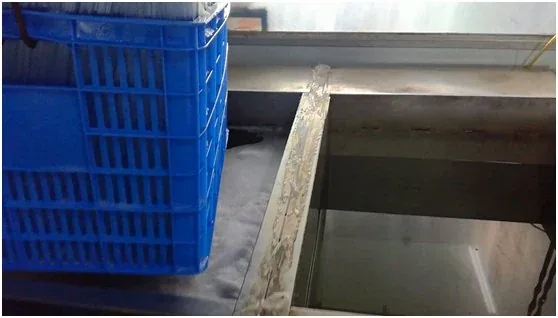
How Anti Static IC Tubes Are Made From PVC
The process starts with PVC resin fed into an extruder.
Read Guide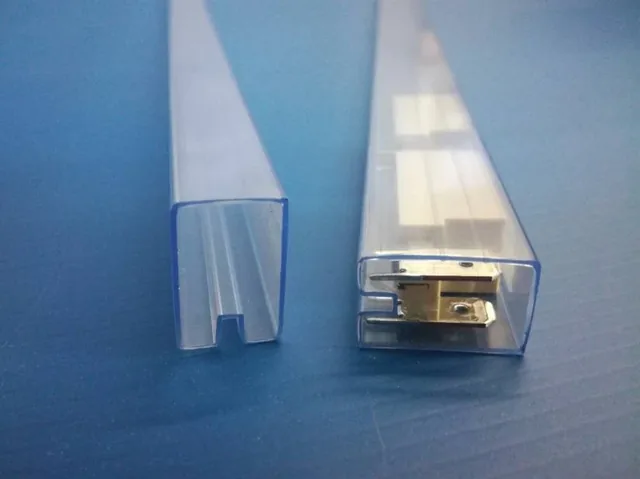
Why IC Shipping Tube MOQ Is High
The minimum order quantity for custom anti-static IC shipping tubes is high because each production run requires machine re-molding, setup adjustment and dimensional verification.
Read GuideTooling Questions
What does custom tooling cost?
There is a one-time tooling set up cost, quoted per profile after the application review. Extruded plastic IC tube tooling has to be designed and manufactured around the shape of the extrusion, so it is specific to your device.
How long from purchase order to first article?
25-day ARO at the low end on a basic low volume project. Typical lead time is 4-6 weeks. Complex tools or high volume items can run 10-12 weeks, and design changes during the process add to that.
What if I have no drawing at all?
Send a sample tube, or the physical component that goes into the tube. Measurements are taken from it and turned into a drawing for your approval.
Do I pay for the sample tubes?
No. Free samples of 20-50 tubes are provided from the tooling trial so you can test the fit before releasing production.
Is there a minimum order after tooling?
Standard tube MOQ is 10000 pieces. Custom profiles carry a minimum tube order requirement as well, confirmed in the quote.
Can the tube be printed?
Yes. Printing of symbols on the tube surface is an option, specified with the profile.
Send the Drawing and Get the Tooling Plan Back
Tube drawing, device drawing or a sample tube. Any one of them starts the review, and the estimate comes back with the design process written into it.