
How To Build Your Own Fire Pit Ball
Seven steps from choosing a hemisphere size to lighting the first fire in your own hand cut fire pit ball.
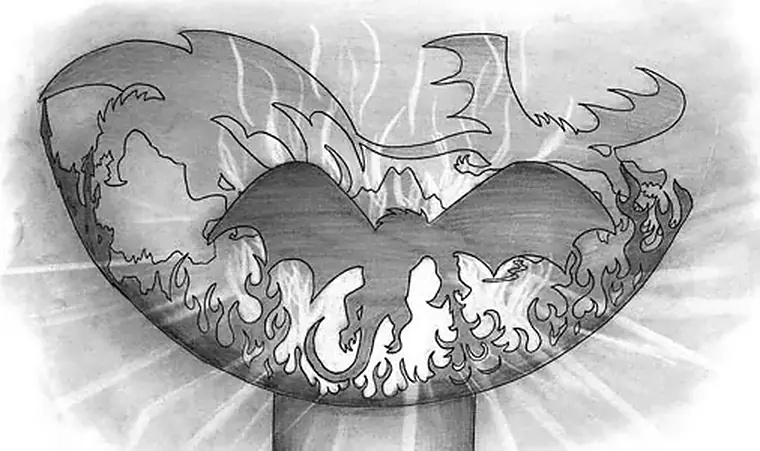
Select the Size
Determine the size against your project scale and the layout of your art elements. In contemporary garden work, ∅900mm (36 inch) is the most popular size for a fire pit ball. That surface area carries a rich scene without becoming unmanageable. Choose the size that fits your budget and your design.
For a first prototype, think about shipping before you think about scale. DHL, FedEx, UPS and TNT determine the billable weight by comparing package size against gross weight, and large hemispheres are both heavy and bulky. ∅600mm (24 inch) is the most cost effective size for a sample delivered by express.
Select the Thickness
Once the size is settled, work out the thickness. Most customers buy 6mm (3GA) for their own fire pit ball.
The deciding factor is your plasma cutter. Determine its maximum cutting capacity, then choose a thickness below that maximum. If your machine cuts 6mm (1/4 inch), order 4mm or 5mm. A hemisphere thicker than the machine's comfortable range leaves heavy burrs around every cut and costs you hours of grinding.
At our factory we cut fire pit balls with a Hypertherm Powermax45, which has a cutting capacity of 16mm (5/8 inch) at 500 mm/min (20 ipm). Its performance delivers a very smooth cutting edge and saves a great deal of working time.
Choose Spun or Assembled Hemispheres
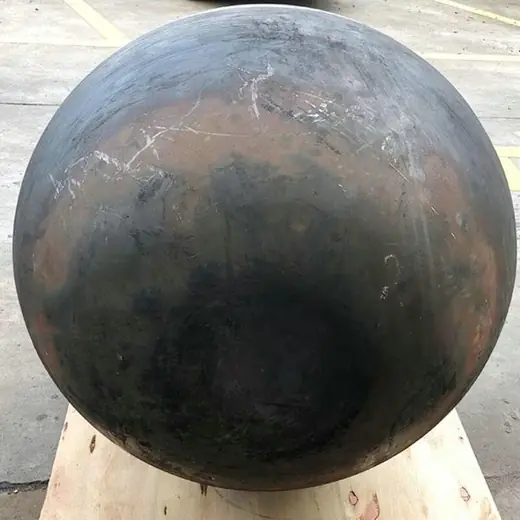
There are two types of carbon steel hemisphere and they behave very differently when you try to close them into a sphere.
Spun carbon steel hemispheres are machine formed and effectively seamless — there is only one welding seam on sizes larger than ∅1500mm (5ft). They carry a 45° welding groove, which is what lets you assemble a complete sphere yourself. They are also the thickest option, from 2mm to 16mm (14GA to 5/8 inch).
Assembled carbon steel hemispheres are welded by hand, have visible welding seams, are hard to close into a true sphere yourself, and top out at 6mm (1mm to 6mm, 20GA to 3GA).
For crafting a fire pit ball, the spun hemisphere is the better choice.
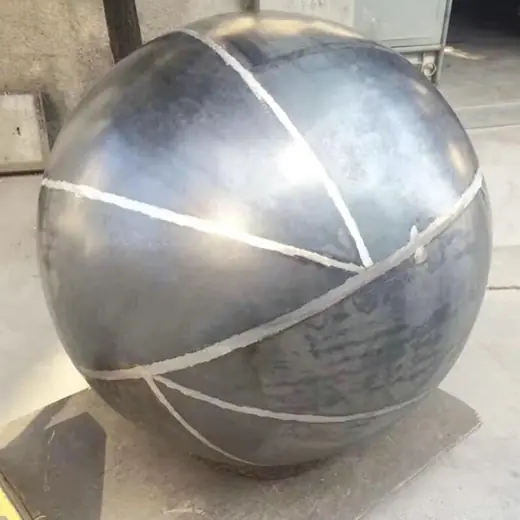
Weld the Two Halves Together
Fix one hemisphere on your working table. Load the second onto it in the exact position with a crane.
Turn on the welder, select the proper output current, and spot weld 5 to 8 points to fix the structure. Then run the full weld inside the 45° welding groove.
Do not grind the weld off yet. Some of the weld area will be cut away when you plasma cut the art elements, so leaving the final grinding and polishing until after cutting saves a lot of time.
Draw the Art Elements
Before drawing on the sphere, think about the scene and the detailed layout. We recommend sketching roughly on paper first. Inspiration comes from nature, film, culture and history.
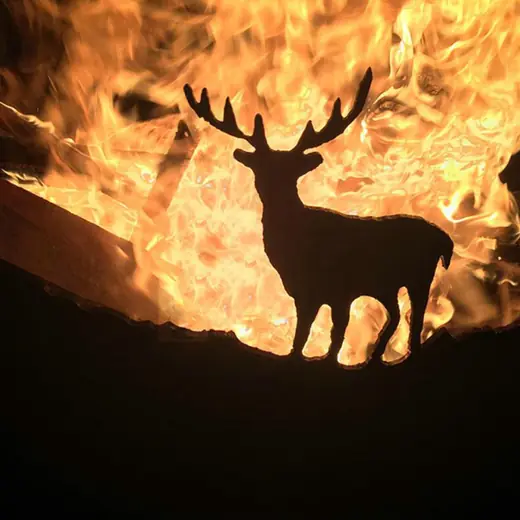
A wide range of elements appear in contemporary fire pit design. The most popular is a natural animal scene — lifelike animals with trees and plants, as on an Africa fire pit ball, which suits garden and outdoor spaces.
Once you have the idea, draw it on the steel ball with white chalk. If you do not have the drawing skill, hire someone locally, or send us your concept and we will help implement it.
Cut and Grind
Cut the ball following the white chalk lines. Select the proper current output on your plasma cutter and follow your machine's instruction book carefully — the cut area is extremely hot.
After cutting, grind off the burrs on every cut edge. This matters: children and guests will touch the ball.
Weld the Base and Install
Weld a tube base onto the bottom of the fire pit ball so it can be installed in your garden or outdoor space.
Start Your Fire Pit Ball Life
Select good firewood, light it, and see what makes a fire pit worth building.
Explore Further
Related categories
Industry applications
How To Build Your Own Fire Pit Ball FAQ
Which hemisphere type should I buy?
What thickness works with my plasma cutter?
Should I grind the weld before or after cutting?
What size for a first sample?
Put This Into Practice
Send the specification, or the question this guide raised, and an engineer will answer directly.