
Add a Camera to an Existing Microscope
Most microscopes already on a bench can be given a camera. The work is in matching three things: the port, the adapter reduction and the sensor size.
Each Decision And What It Costs To Get Wrong
Identify the port
Problem. Trinocular ports differ in diameter and in what they expect to be screwed into them.
How it is solved. Confirm the microscope brand and model. The adapter range lists fitments for common stereo, biological and inverted bodies including third-party instruments.
Choose the sensor
Problem. A large sensor on a low-reduction adapter vignettes; a small sensor crops the field.
How it is solved. Pick the camera format first, then the adapter reduction that maps the eyepiece field onto that sensor.
Choose the interface
Problem. USB2.0 limits frame rate; a PC is not always available at the bench.
How it is solved. USB2.0 for documentation, USB3.0 where live frame rate matters, HDMI or WiFi where the image goes to a screen or tablet rather than a computer.
Calibrate if you measure
Problem. On-screen measurements without calibration are just pixels.
How it is solved. Calibrate against a stage micrometer at each magnification you intend to measure at, and record the factor.
Categories Used In This Guide
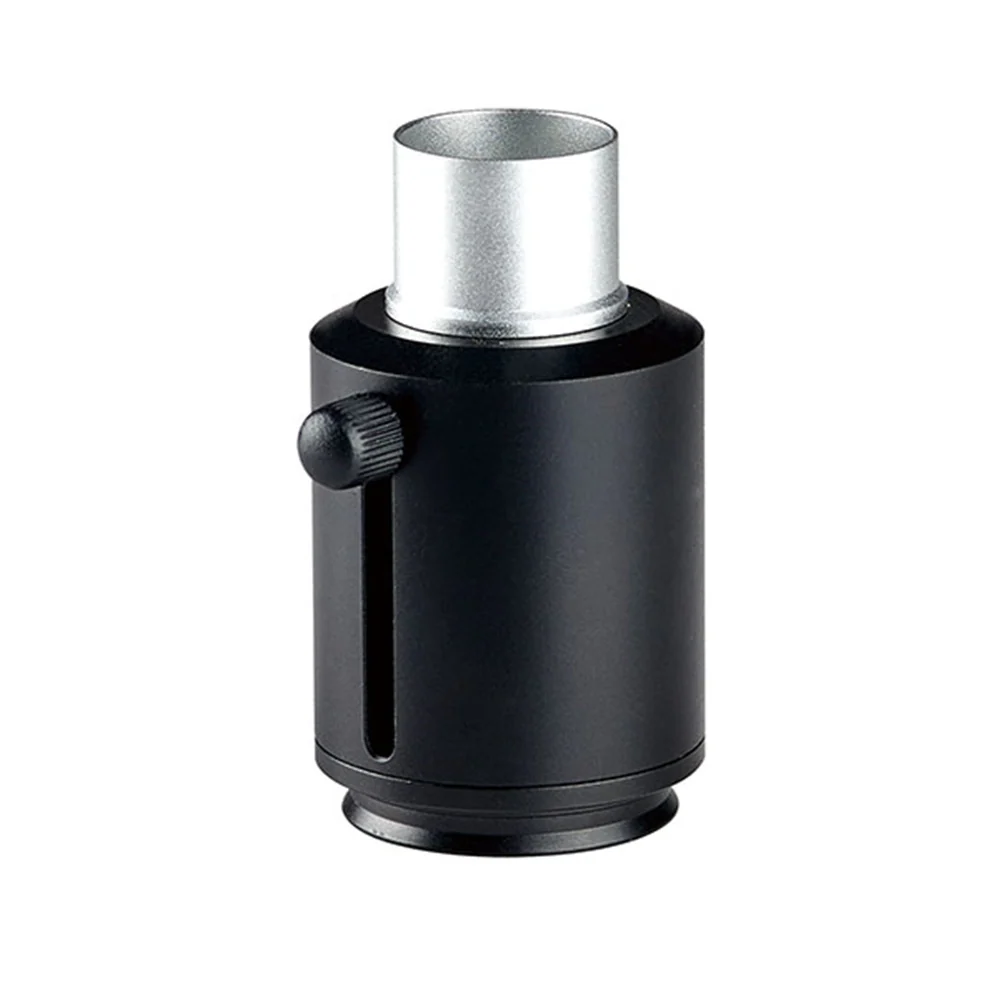
14 productsMicroscope Adapter
Adapter components that connect microscope eyepieces, objectives or camera ports to other optical or imaging systems, enabling flexible configuration of magnification, focus and imaging output.
 11 products
Stereo Microscope Adapter
Adapters that connect a C-mount camera or phototube to a stereo microscope objective for digital imaging or photographic capture.
 8 products
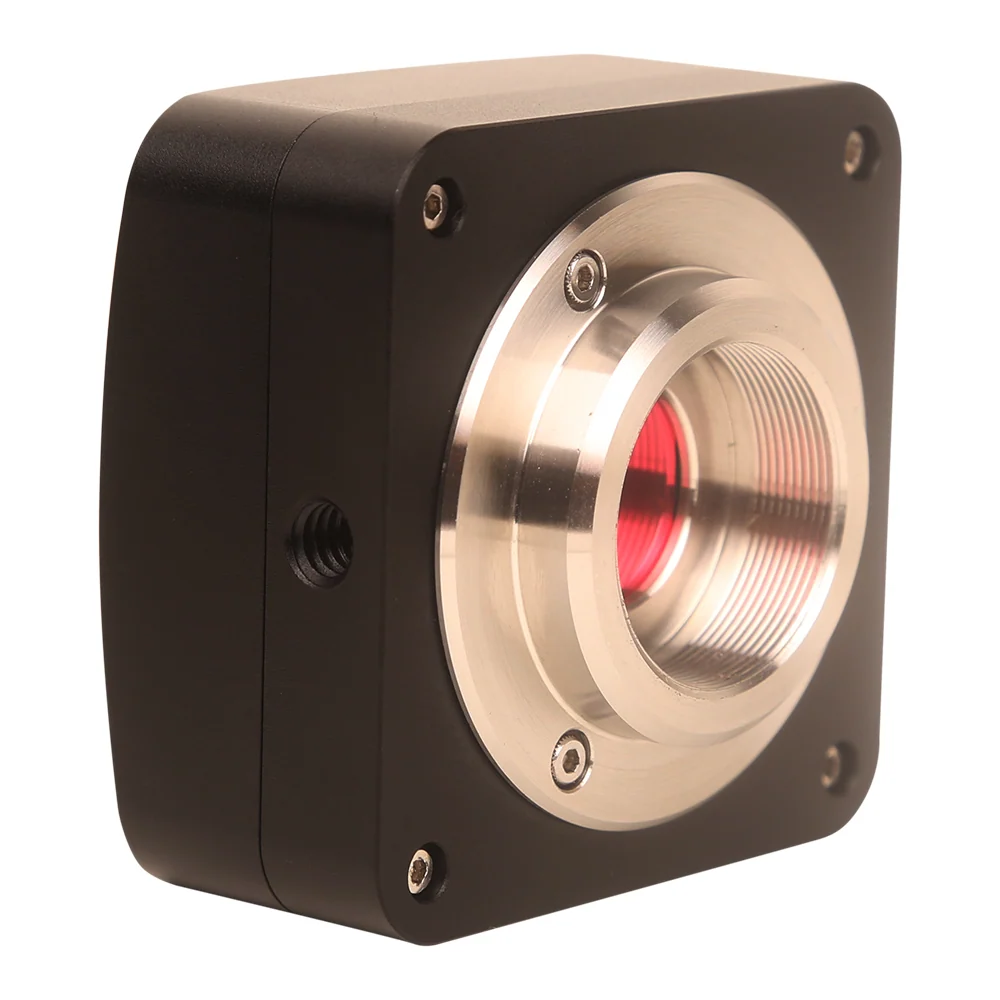
USB3.0 CMOS Microscope Camera
USB3.0 CMOS microscope cameras with Sony or OnSemi sensors, designed for digital imaging in biological, stereo and inspection microscopes using C-mount, M42 or F-mount interfaces.
 17 products
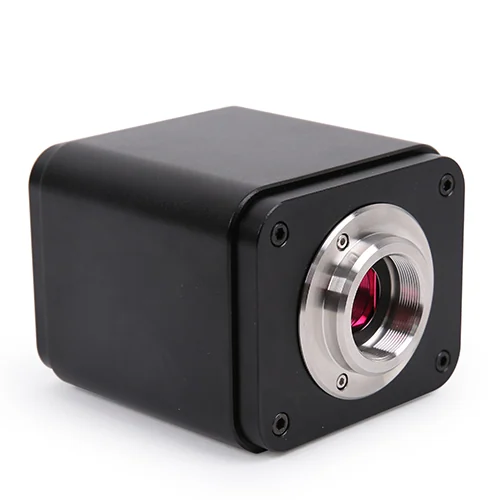
HDMI Microscope Camera
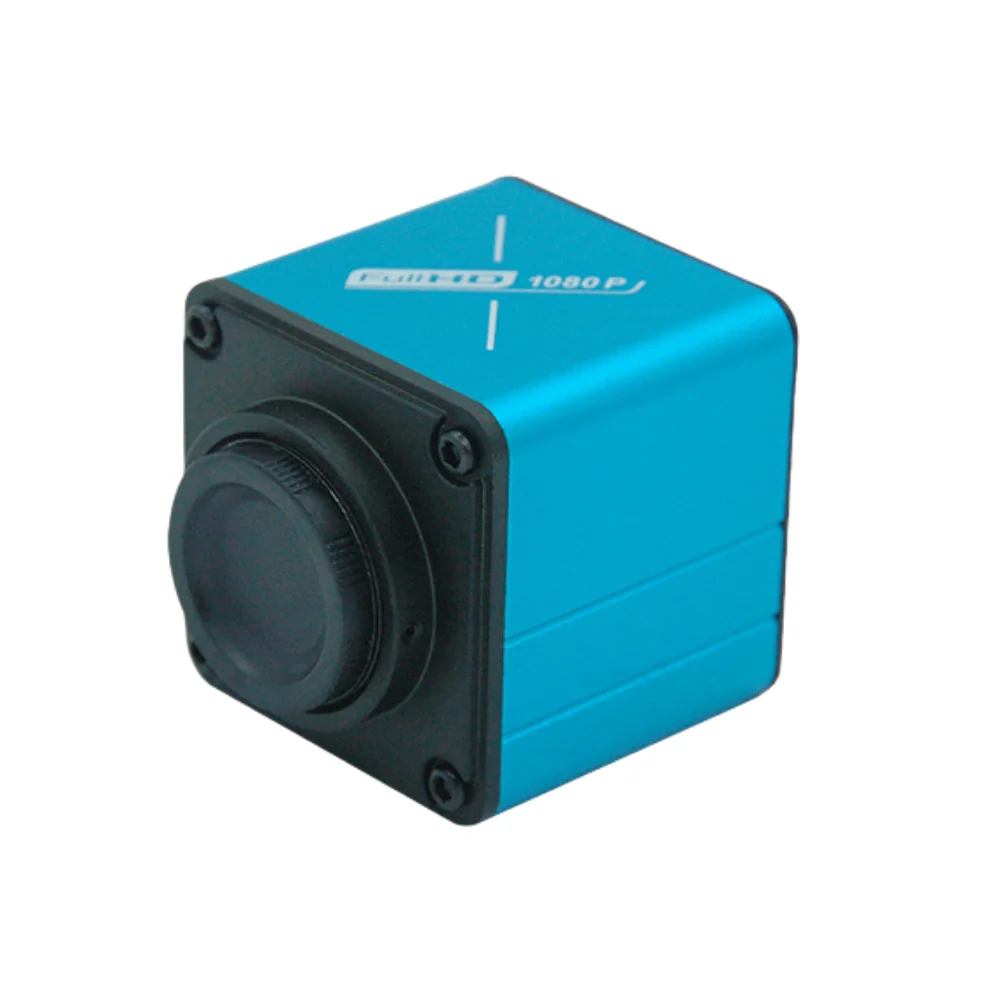
HDMI microscope cameras that connect to video microscopes, stereo microscopes or biological microscopes for real-time image capture, measurement and live teaching. These cameras deliver 4K or 1080P output via HDMI, USB3.0, WiFi or dual outputs, with support for autofocus, low-delay 60fps streaming and mobile app integration.
11 productsWiFi Microscope Camera
WiFi microscope cameras that connect to microscopes via USB, HDMI or wireless networks for real-time image capture and remote inspection without cables.
 3 products
VAG Microscope Camera
Digital microscope cameras that connect via USB2.0 to capture and display live images from stereo, biological and industrial microscopes for inspection, documentation and quality control.
Products Commonly Chosen Here
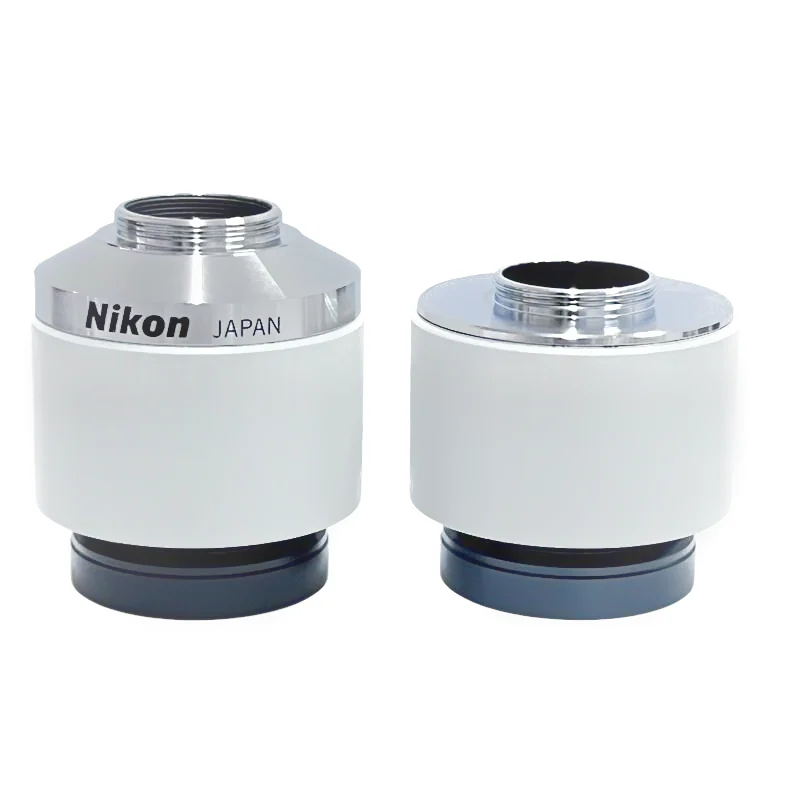
0.7X 1X Adapter 40mm for Nikon Ts2 SMZ800 SMZ1000 Microscope
View DetailsSZN Phototube Stereo Microscope Adapter
View DetailsC3CMOS USB2.0 SONY C-mount Biological Microscope Camera
View DetailsSCAM4K8MPA/B Sony Imx678 IMX585 Digital Microscope Camera
View Details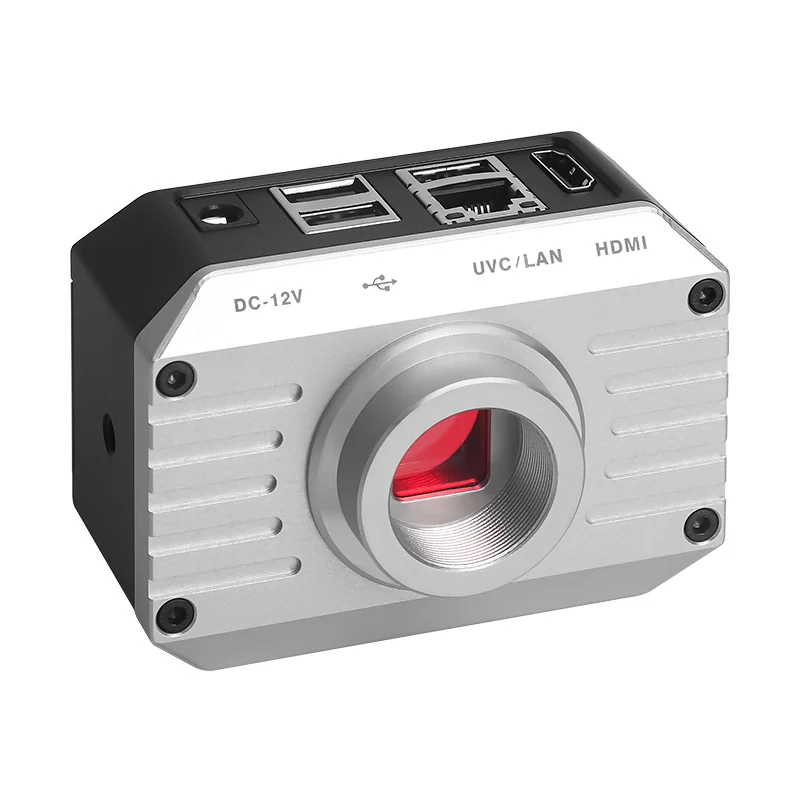
8M WIFI Industrial Microscope Camera 1/1.8" AM3630
View DetailsVAG USB2.0 Industrial Microscope Camera Panasonic AM3600
View Details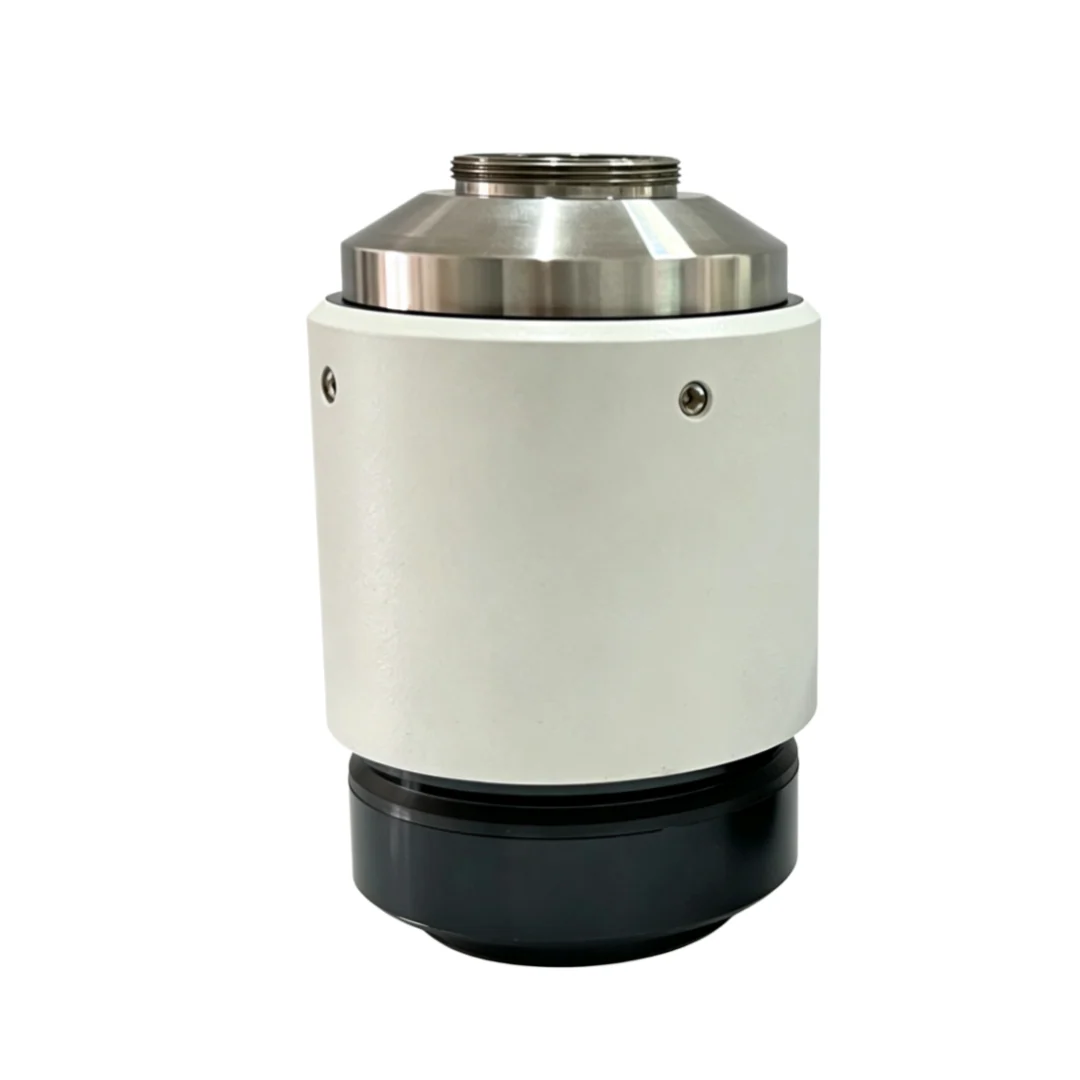
0.7X 1X C-mount Adapter 52mm for Nikon TiS Ti2 TE2000 80i Microscope
View Details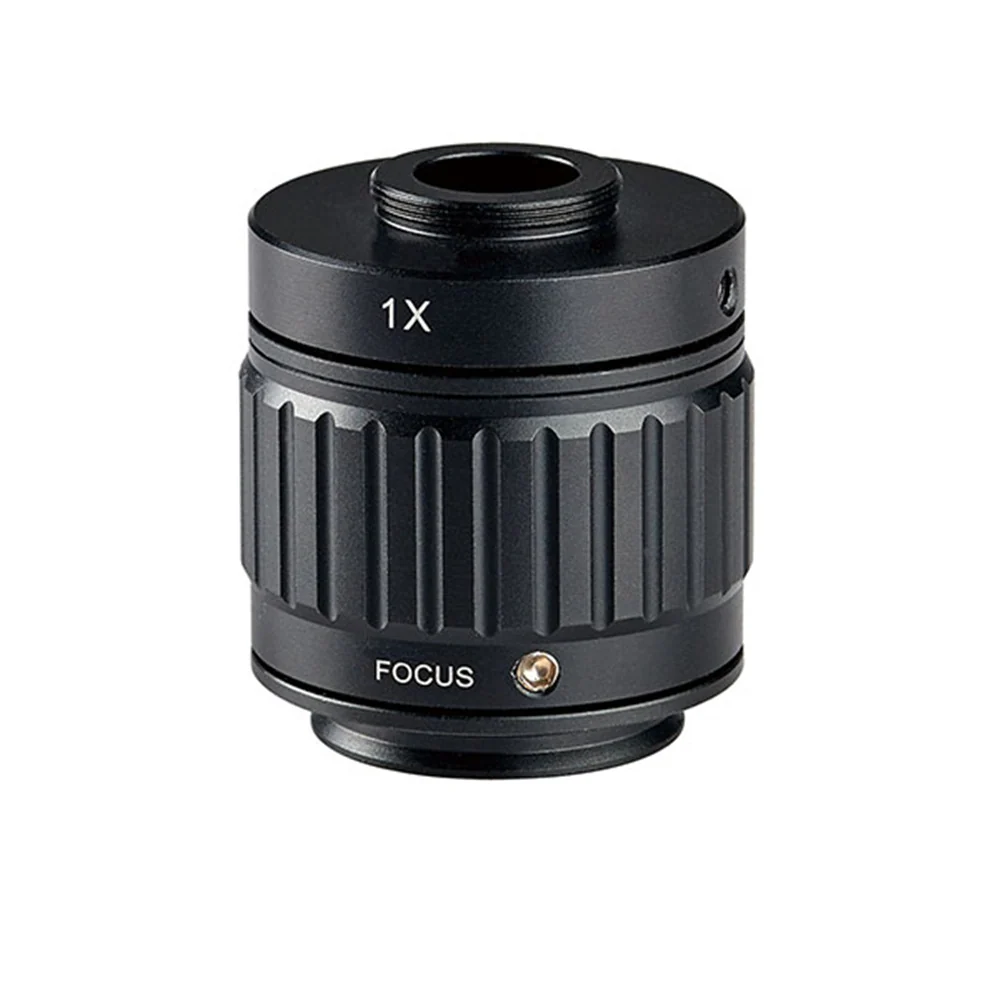
SZN 1X C-Mount Stereo Microscope Adapter
View DetailsFrequently Asked Questions
Will an adapter fit a microscope that is not an AMADA instrument?
Often yes. The adapter range is listed against the third-party stereo and inverted bodies it fits. Send us the microscope model and the camera you intend to use.
Which reduction should I order?
It depends on your sensor size. Tell us the sensor format and we will name the reduction that keeps the recorded field close to the visual field.
Send Us Your Requirement Instead Of A Part Number
We will work back from the task to a configuration, list what is needed and quote it as one set.