
Installation Guide
How to Install a Reversing Camera and Monitor
A reversing camera installation is six decisions and one cable run. Getting the decisions right first means the cable run only has to be done once.
How To
The Sequence Step by Step
- 01
Choose and mark the camera position
Hold the camera where it will live and check the view covers the ground immediately behind the vehicle, not the horizon. Mark the bracket holes or the barrel hole centre.
- 02
Decide the trigger
Decide whether the camera and screen come on with the reverse light or with the ignition. Reverse light triggering is simpler; ignition triggering lets the driver use the camera at any time.
- 03
Route the cable before fixing anything
Run the full cable from the camera position to the screen position and confirm it reaches with slack to spare, before you drill or cut anything. Route away from exhaust heat and moving suspension parts.
- 04
Fit the camera
Fix the bracket or push the barrel through its hole and lock the collar. Seal the panel entry point. Leave a drip loop below the entry so water runs away from the hole.
- 05
Fit the screen
Mount the monitor where the driver can see it without moving their head far off the road, and where sunlight does not fall directly across it. Set the tilt angle from the driver's seat, not standing outside the vehicle.
- 06
Connect power and video
Connect the video plug at both ends, then the power feed and the trigger. Make joints in dry positions and support the loom so no joint is carrying weight.
- 07
Set the camera angle and test
Select reverse, check the picture appears within a second or two, and adjust the camera down angle until the ground close to the bumper is in frame. Test again after dark.
Test It Wet as Well as Dry
The last step most installers skip is a hose test. Run water over the camera and the panel entry point, then check the picture. Water ingress problems that show up months later are almost always visible in a five minute test on the day.
Products
Products Referenced in This Guide
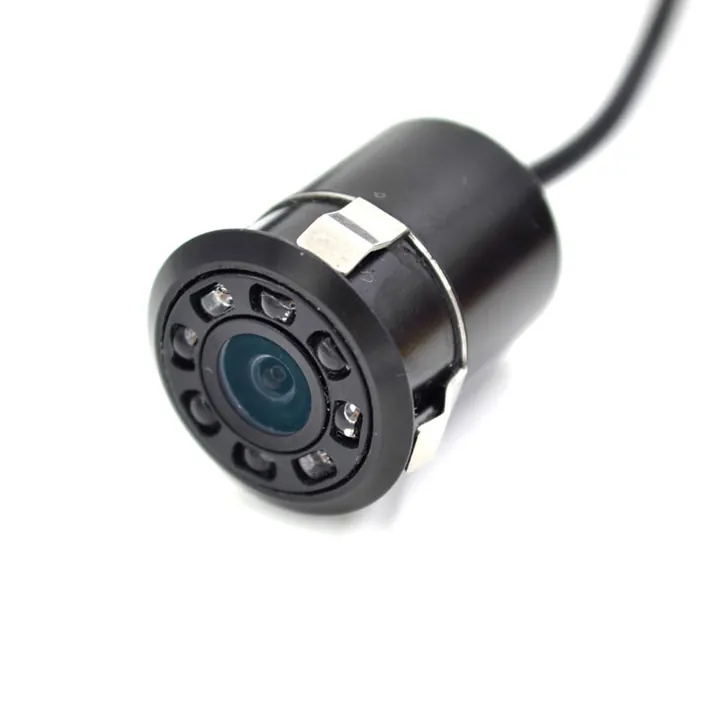
Vehicle CamerasCar Backup CameraFlush Barrel Camera for a Clean Bumper Installation
View Product
 Vehicle Monitors4.3 Inch Foldable MonitorDash Monitor That Folds Flat When It Is Not in Use
View Product
Vehicle Monitors4.3 Inch Foldable MonitorDash Monitor That Folds Flat When It Is Not in Use
View Product
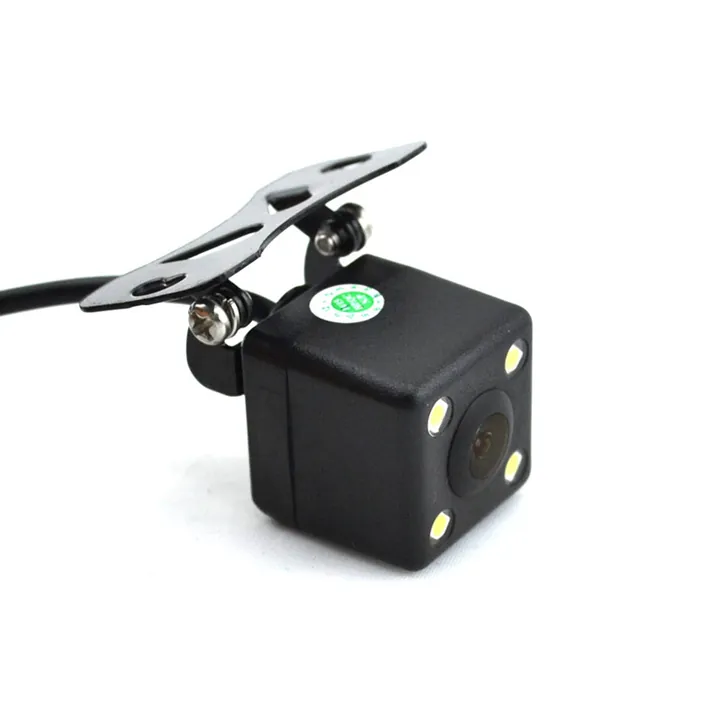 Vehicle CamerasMini Backup CameraCompact Bracket Camera With Four Assist Lamps
View Product
Vehicle CamerasMini Backup CameraCompact Bracket Camera With Four Assist Lamps
View Product
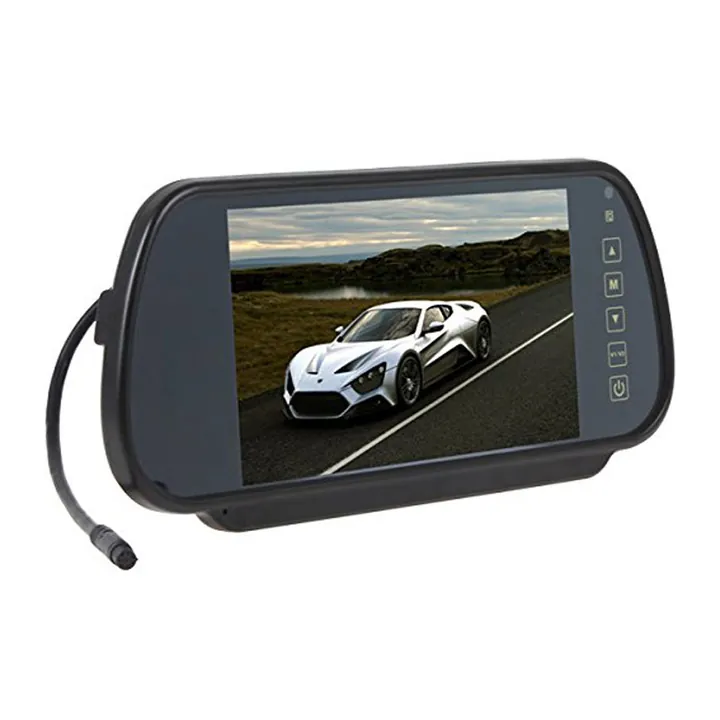 Vehicle Monitors7 Inch Mirror MonitorClip on Mirror Screen That Uses No Dash Space
View Product
Vehicle Monitors7 Inch Mirror MonitorClip on Mirror Screen That Uses No Dash Space
View ProductRelated Articles
Continue Reading
Applications
Industries This Applies To
Downloads
Take This Away as a PDF
FAQ
Questions About This Guide
Can you confirm this for my specific vehicle?
Yes. Send the vehicle type and a photo of the mounting position or the head unit input and we will confirm before you order.
Do you supply the parts described in this guide?
Yes, all of them are manufactured by us. The products referenced above link straight to their specification pages.
Can I get a written specification?
Ask for the specification sheet through WhatsApp or email and we will send it with the quotation.
Next Step
Put This Into Practice on Your Vehicles
Send the vehicle type, the mounting position and the view count. We will specify the parts and quote against them.