The Plate Is the Part That Fails First
Attention usually goes to the loop, but in practice the failure is at the interface between the plate and whatever it is bolted to. The plate shape decides how load spreads into that surface, so it is the first thing to choose.
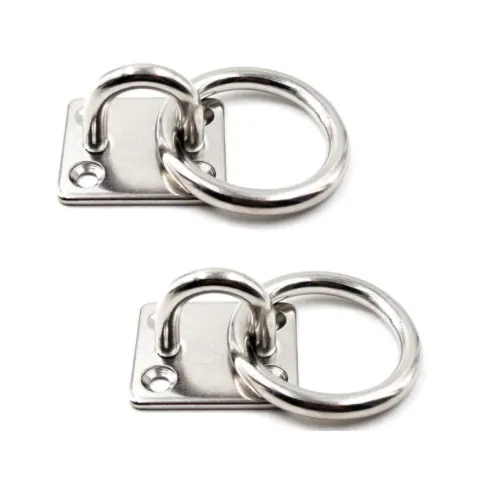
Square and Diamond Plates
Four fixings spread the load widely, which is what you want on a deck, a rendered wall or a timber post carrying a shade sail. The diamond shape puts two fixings along the pull axis, which suits a load that always comes from one direction.
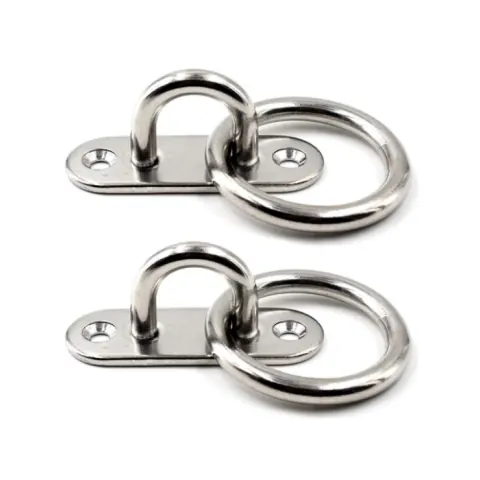
Oval and Round Plates
Two fixings, narrower footprint. Right for rails, narrow panels and places where a four bolt plate simply will not fit. Load capacity into the substrate is lower because the footprint is smaller.
Open Versus Closed Loops
A closed loop needs a shackle or a quick link to pass through it and cannot release by accident. An open round plate lets a rope be dropped in and lifted out without unshackling, which suits temporary rigging and awnings.
Plates with a Captive Ring
A square or oval plate with a ring already fitted gives a rounded bearing surface for a rope or webbing loop, so the line is not running directly on a welded eye.
Swivel Plates
Where the pull direction changes during use, a swivel pad eye lets the eye follow the load instead of the rope working sideways across a fixed loop.
Backing and Fasteners
Fasteners are not supplied with the plates. Use stainless fixings from the same grade family and back the plate where the panel is thin, otherwise the fixings pull through before anything else gives way.