Detail is geometry, not decoration
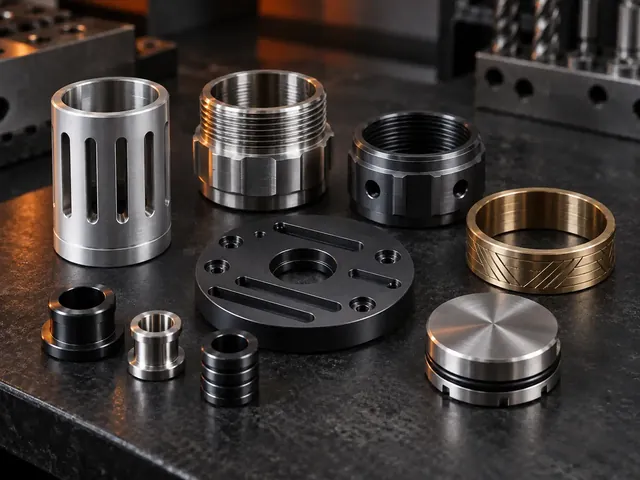
On saber, prop and EDC parts, the fins, flutes and marked faces are the reason the design sells. They are machined features with the same constraints as any other, and designing them with those constraints in mind is what stops a shop asking you to simplify them.
Internal radii set your smallest detail
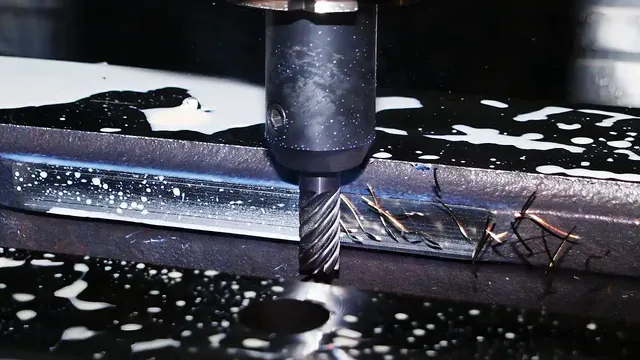
Every internal corner is cut by a round tool, so the corner radius cannot be smaller than the cutter. A pattern full of sharp internal corners either changes shape or needs a much smaller, slower cutter. Draw the radius you can accept and the toolpath can be planned around it.
Watch wall thickness between features
Detail cut on both sides of a thin wall leaves very little material to hold the part rigid. Thin sections chatter, and chatter shows on a finished surface. Where a pattern is dense, leaving a little more wall is usually invisible in the design and obvious in the result.
Specify engraving depth and character height
Engraving that is not dimensioned will be interpreted. Put the depth and the character height on the drawing, and supply the artwork as DXF or PDF vector with closed paths — an image file has to be traced before it can be cut, which introduces exactly the variation you were trying to avoid.
Think about the finish while you draw
A brushed or polished surface shows machining marks that anodizing would soften, and anodizing adds thickness to every detail feature. Deciding the finish while the geometry is still open lets both be planned together.
Send the mating drawings together
If a detail has to line up across two parts — flutes that continue across a joint, a shroud that clocks to a body — send both drawings at once so they are cut against each other rather than separately to the same nominal.