
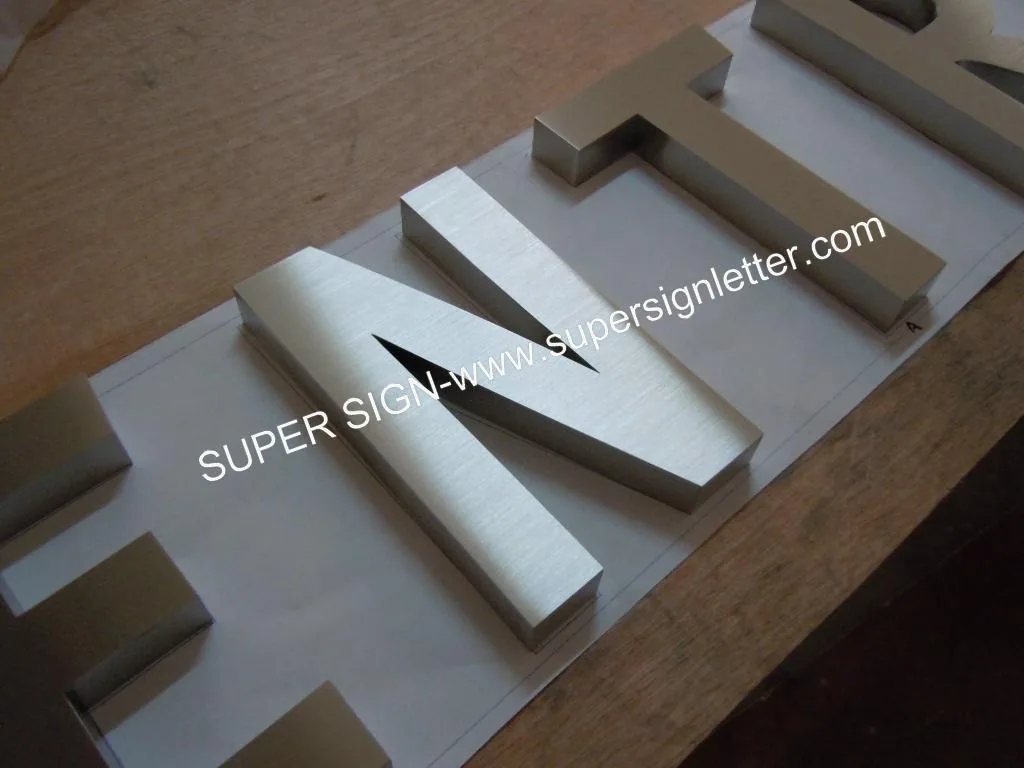
304 or 316 stainless for sign letters?
The grade decision is really a site decision. Here is how to make it without guessing.
Studs, pins, adhesive and the 1:1 template — the parts of the job that decide whether installation takes an hour or a day.
The standard fixing across the catalogue. Threaded studs are bonded to the back of the letter; the installer drills the wall, fits the studs and either pulls the letter flush or stands it off on spacers to create a shadow gap. On illuminated builds the stand-off is what lets the light out, so it is not optional.
Listed as an alternative fixing on several builds. It suits a smooth, clean, sound interior surface and a letter that is not heavy. It is not a substitute for pins on an exterior wall, on textured render, or on anything substantial in metal.
Supplied with every order, along with the bolts or pins. The installer tapes the full-size template to the wall, checks the position from a distance, drills straight through it and peels it off. The letter spacing on the wall is then exactly the spacing in your artwork.
We supply the letters, the template, the fixings and — on lit builds — the 12V DC CE and RoHS approved transformer. Locating the transformer and connecting to the building supply is the installer's work.
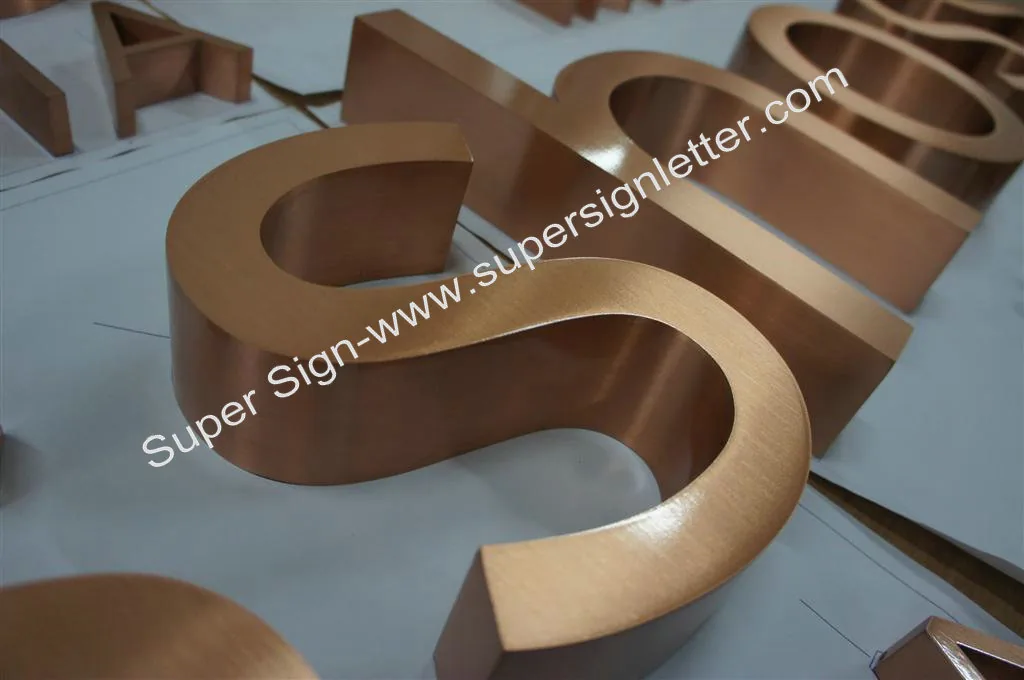
Pictured: Built-Up Copper Sign Letters
Send the artwork and the site details. We will come back with the grade, the thickness or depth, the finish and the fixing method — with the reasons.
The grade decision is really a site decision. Here is how to make it without guessing.
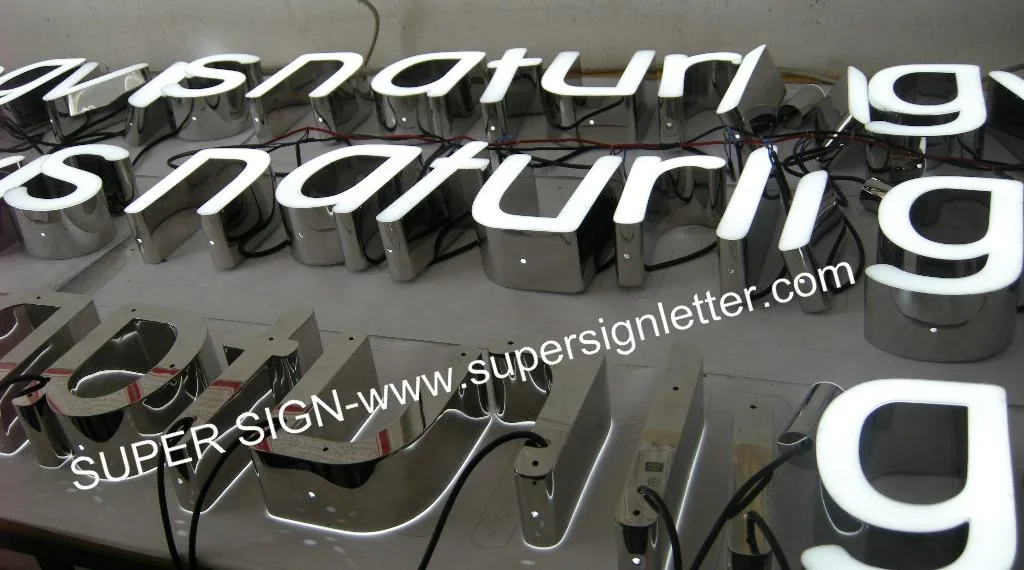
Three ways to light the same wordmark, and what each one looks like at noon and at midnight.
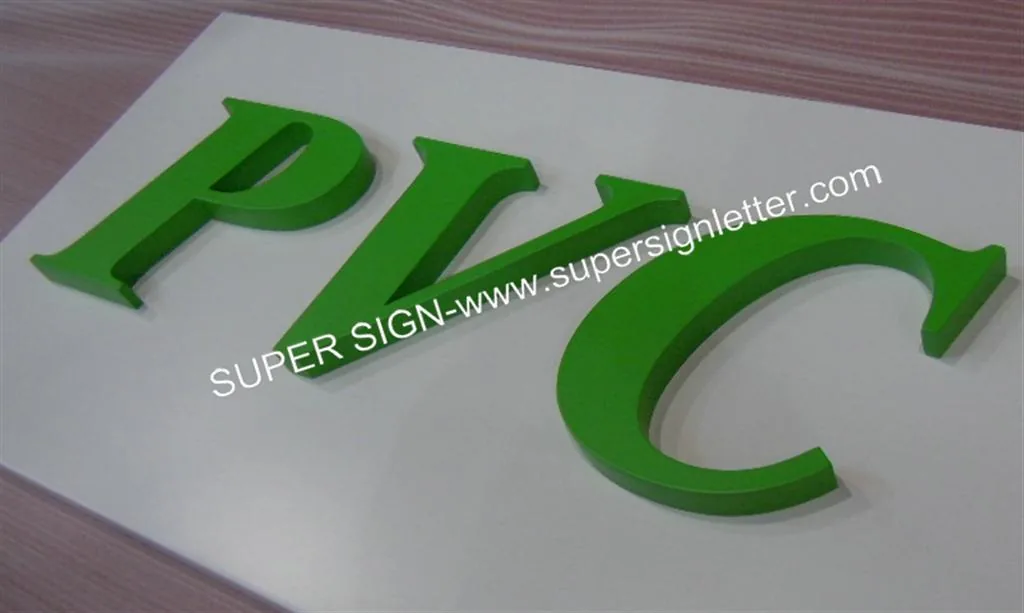
Plate thickness on a flat-cut letter, return depth on a built-up one — and why both are visible from the street.
Artwork, finished letter height and the site. That is enough to price the job properly.