Before Anything Is Cut
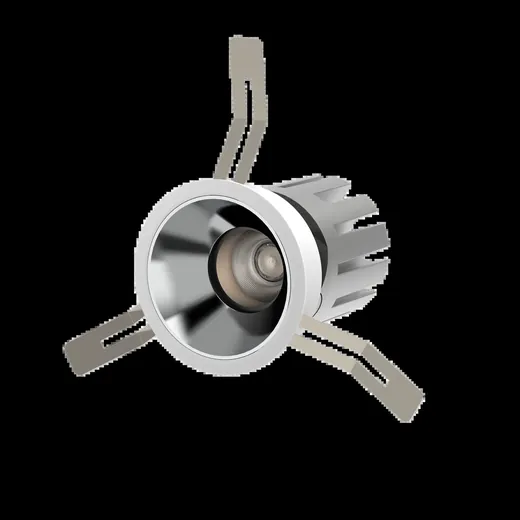
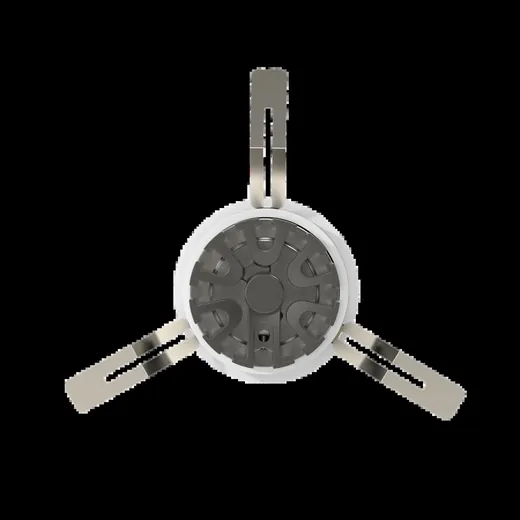
Confirm three numbers against the model sheet: the cutout dimension, the body depth and the trim type. Then confirm the void actually has that depth clear of ducts, sprinkler pipework and structure.
In refurbishments, survey the void before finalising the layout. It is common to find that a third of the planned positions are blocked.
Setting Out
Mark positions from the finished ceiling grid or from the walls, not from the structural slab. Check the layout against the furniture and shelving plan - a downlight centred on an aisle is useless if the gondola is moving 400 mm.
For corridors, set a regular spacing and hold it. Irregular spacing is the most visible installation fault there is.
Cutting The Opening
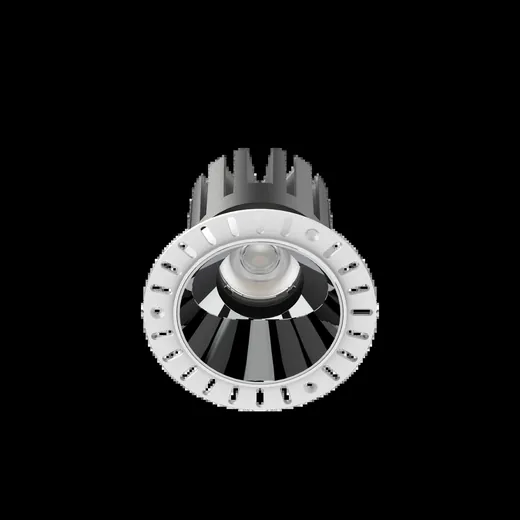
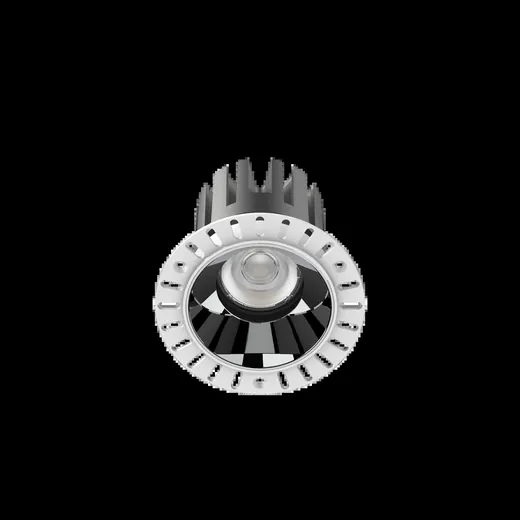
Cut to the stated cutout dimension, not to the body diameter. Bordered fittings tolerate a few millimetres of error because the trim covers the edge; trimless fittings do not.
For square apertures, check the diagonal as well as the sides. A square cut slightly out of true is obvious once a square trim sits in it.
Trimless Sequence
Trimless housings are fitted during first fix, before the plaster or skim coat. The plasterer works up to the housing and the ceiling closes flush against the aperture.
This means the lighting layout has to be final before the ceiling is finished. Any change after that point is a patching job, not a re-aim.
Wiring And Seating
Make the connection before seating the fitting. Check the driver has room and is not pressed against the housing or buried in insulation.
Seat the fitting square to the ceiling. A spotlight tilted by two degrees is visible along a run of twenty.
Aiming And Handover
Adjustable heads should be aimed with the display or furniture in place, not against an empty room. Aim, then check from the customer's standing position, not from the scaffold.
Record the final beam angles and finishes on the as-built schedule so spares can be ordered correctly later.