
Process Guide
How Custom Lapel Pins Are Made Step By Step
Nothing can be struck until the design exists as clean vector outlines.
It Starts With Redrawing Your Artwork
Nothing can be struck until the design exists as clean vector outlines. A logo built for a website is drawn in a way that assumes infinite resolution and no material constraints, which is why so many files need work before they can be tooled. Lines that are hairline thin will vanish, gaps narrower than the enamel can fill will bridge over, and gradients have to be resolved into flat areas separated by a metal wall. This is the stage where a badge order is quietly saved or quietly ruined, and it happens before a single piece of metal is touched.
Cutting The Die
The die is a hardened steel block with your design cut into it in reverse. It is the single most expensive object in the process and, once cut, it cannot be edited. That is why a vector proof is approved before the die is made, and why a design change during production is sometimes free and sometimes not, depending on whether the die has already been committed. The upside is longevity: a die is kept on file, so a reorder of the same artwork skips this step entirely.
Striking The Blank
Sheet metal, usually brass or iron, is fed under the die and struck under high pressure. The metal flows into the recesses of the die and takes the shape of the design, raising the lines and forming the wells that will hold enamel. The piece is then trimmed out of the surrounding sheet along the outline of the design, which is how pins come to have custom shapes rather than being circles and squares. Edges are then smoothed so the finished pin is not sharp in the hand.
Filling The Colour
Enamel is applied one colour at a time, by hand, into the wells between the metal lines. This is genuinely manual work, and it is where the colour reference you supplied matters, because the operator is matching against a physical target rather than a screen. For hard enamel the piece then goes into a kiln, where the enamel is fired hard, and comes out slightly proud of the metal. For soft enamel the enamel is cured and deliberately left below the line.
Polishing And Plating
A hard enamel pin is ground and polished until the colour and the metal sit in one plane. Only then is the pin plated, because plating over an unpolished surface would simply preserve the roughness underneath. Soft enamel pins are usually plated before filling instead, so the raised lines carry the finish. Gold, silver, nickel, black nickel and antique finishes all behave differently over the same base metal, which is why a plating choice changes the look far more than most buyers expect.
Attachment Inspection And Packing
The back attachment, usually a butterfly or rubber clutch post, is welded or glued on, and this joint is checked because it is the part that fails in use. Each piece is then inspected for enamel pits, plating marks and attachment strength before being bagged. From approved sample to packed carton, mass production generally runs 10-15 days, and the sample itself generally takes 3-5.
See Also
Products In This Guide
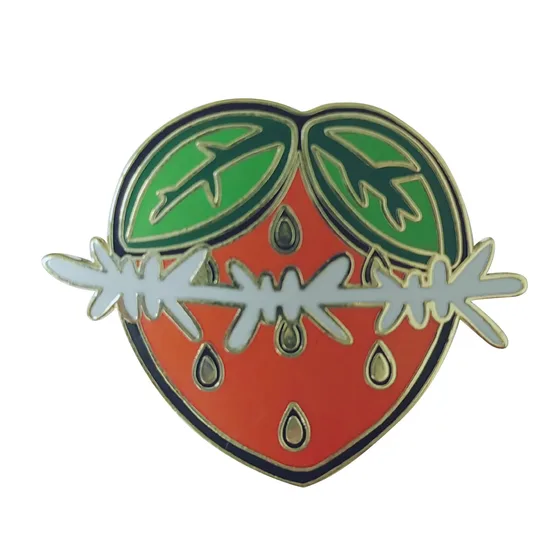
Hard Enamel Pins
Hard Enamel Lapel Pin
Polished flat face resists scratching, so a daily-worn pin still reads as new after years
View Product →
Offset Printed Pins
Offset Printing Pin
Reproduces full-colour gradients and photographic detail without needing separate metal lines for each colour
View Product →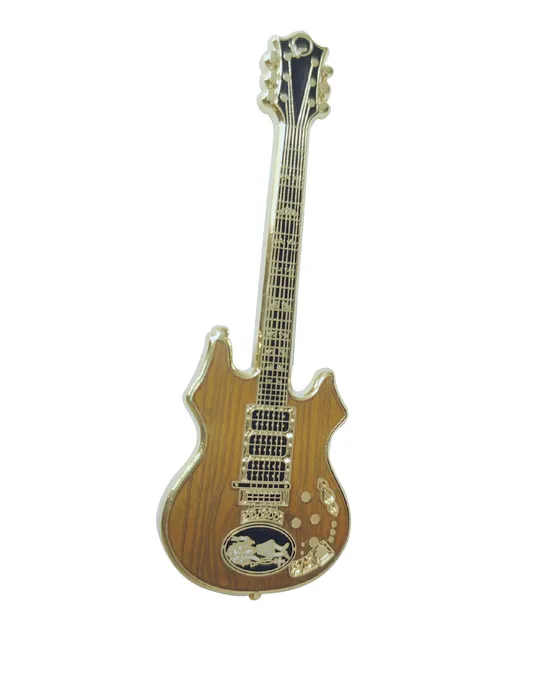
Hard Enamel Pins
Transparent Color Pin
Clear epoxy coating protects the enamel color from everyday handling and display wear
View Product →Related Applications
Frequently Asked Questions
How many steps does a pin actually go through?
Around ten, from artwork review through die cutting, striking, trimming, filling, firing, polishing, plating, attachment and inspection.
Why can the die not be changed later?
It is cut into hardened steel in reverse. Metal can be removed but not put back, so a real change means a new die.
Is the enamel filling done by machine?
No. It is applied by hand, one colour at a time, which is why the colour reference you supply matters.
How long does the whole process take?
Samples generally 3-5 days, then mass production generally 10-15 days after you approve the sample.
Do you keep the die for reorders?
Yes. A repeat order of the same artwork reuses it, so the tooling step is skipped.
Still Not Sure Which Process You Need
Send the artwork and we will tell you which process holds your design best and what it costs.