
Why Every Set Ships With a Template
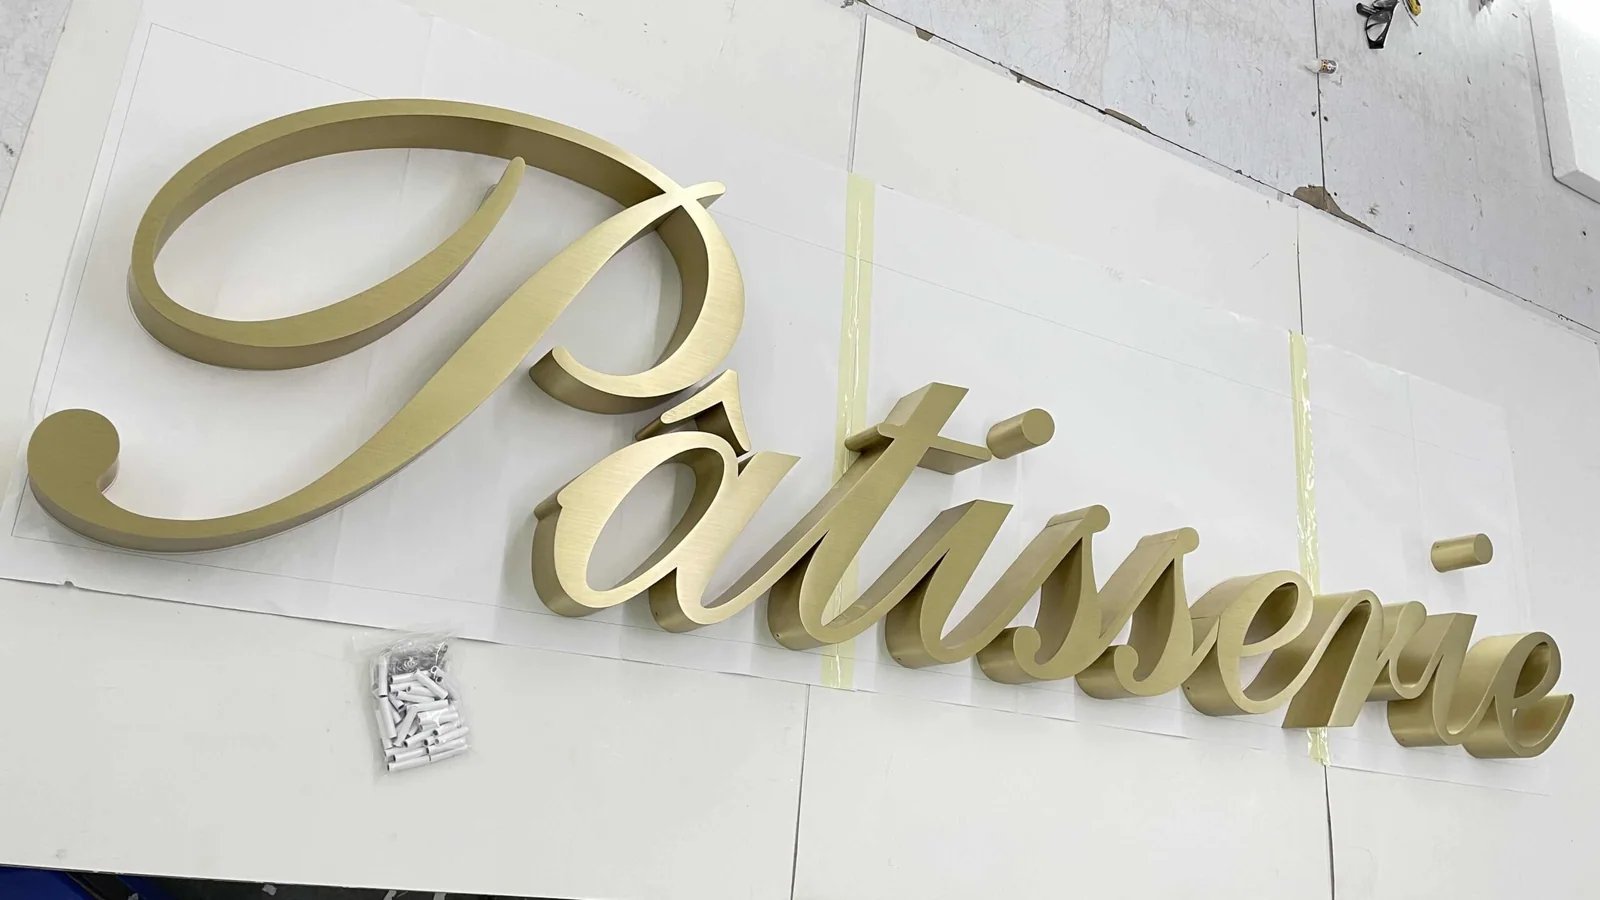
Every letter set we supply comes with a 1:1 mounting template, drilled from the same file the letters were cut from. That single sheet is what lets a general fitter hang a letter set correctly in one visit, without a specialist sign crew.
The letters arrive flat-packed and individually wrapped, with the fixing studs already welded to the backs.
Before You Go to Site
- Check the set against the approval drawing: character count, letter heights, finish and colour reference.
- Confirm the substrate. Concrete, brick, render and cladding all take different fixings, and stud length was set for the substrate named on the order.
- Leave mirror-polished faces wrapped. The protective film comes off after the letters are on the wall, not before.
Setting Out
- Tape the template to the wall and level it. Take the time here; everything downstream inherits this line.
- Step back and check the position at the actual viewing distance, not from the top of the ladder. Sight lines from the street are what the client will judge.
- Mark every hole through the template, then remove it. Do not drill through the template and hope — paper moves.
- Drill and fit the anchors to suit the substrate.
Hanging the Set
- Offer up the letters in order, working from the centre of the set outward so any accumulated error is split between both ends rather than dumped at one.
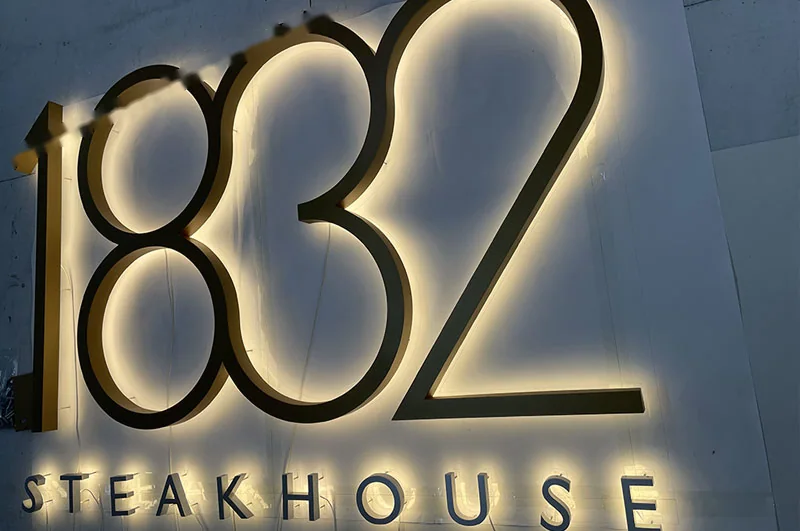
- For stand-off halo letters, keep the spacer distance identical across the set — a single character sitting 5 mm proud shows up badly once the LEDs are on.
- If the set is illuminated, test the modules before you make the final electrical connection and before the access equipment leaves.
Finishing Up
Remove protective film, clean the faces, and check the alignment once more from the street.
Keep the template and the approval drawing. If a character ever has to be replaced, they are what makes the replacement match.
Related References
Products Covered by This Guide
 Ref 141
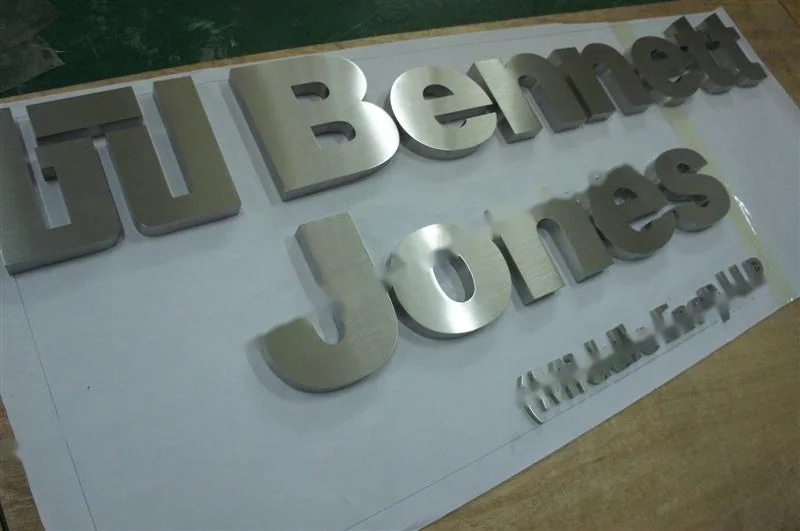
Brushed Stainless Steel Box Letter Ref 141
Box Letter in brushed stainless steel
View reference →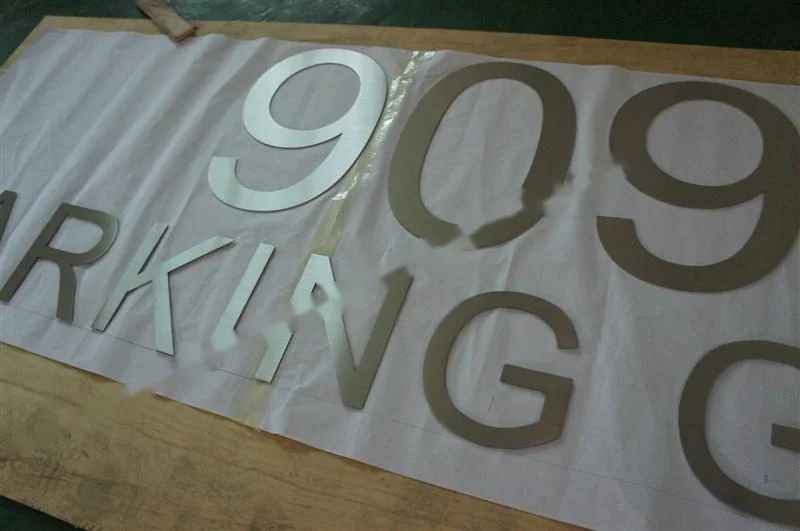 Ref 140
Brushed Stainless Steel Relief Lettering Ref 140
Relief Lettering in brushed stainless steel
View reference →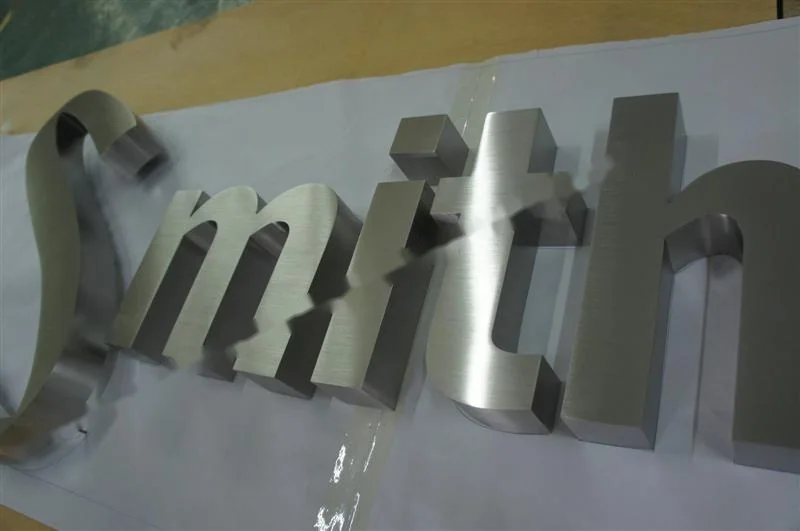 Ref 139
Brushed Stainless Steel Relief Letter Ref 139
Relief Letter in brushed stainless steel
View reference →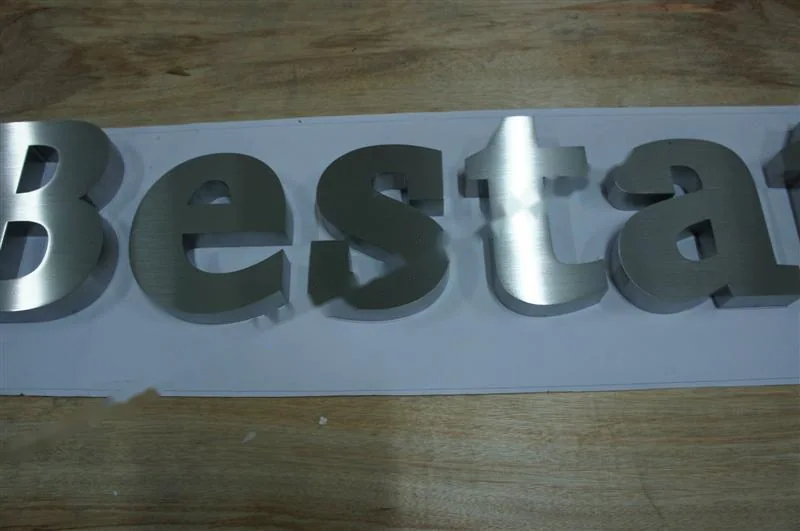 Ref 138
Brushed Stainless Steel Relief Lettering Ref 138
Relief Lettering in brushed stainless steel
View reference →Keep Reading
Other Guides
How to Start a Metal Sign Business
Market research, registration, workshop layout, equipment and the skills a metal sign shop actually needs.
Stainless Steel 304 vs 316 for Sign Letters
Which grade to specify, and the one question about the site that settles it.
Brushed vs Mirror Polished Stainless Steel Letters
How each finish behaves under daylight, spotlights and dirt — and where each one fails.
Answers
Related Questions
What is the minimum order quantity?
TBC — the source material for this catalogue does not state a minimum order quantity. Send your artwork and we will confirm it with the quotation.
Can these letters be illuminated?
Yes. Direct illumination lights the face and indirect illumination puts the light behind the letter as a halo. Tell us which before fabrication, because it changes the return depth.
How is the set packed for export?
Letters are individually wrapped and packed flat. Mirror-polished faces keep their protective film until the moment of installation.
What is the smallest letter you can make?
Letter height starts at 40 mm. Below that the return depth and the fixing studs stop being practical.
Talk It Through With the Workshop
Send the drawing and the site details and we will tell you what we would build and why.