
How to Set Rivets and Purse Feet Without Damaging the Leather
Post length, reinforcement layers and the setting die. Get these three right and the failures stop.
Measure the Whole Stack
Add the thickness of every layer the rivet has to pass: outer leather, lining, reinforcement and any webbing. Choose a post about 1 mm longer than that total. A post that is too short spins loose, and one that is too long splits the cap as it folds.
Use a Matched Setting Die
A flat punch deforms a domed cap. Use the die made for the cap diameter you are setting, and set one test rivet on a scrap stack of the real material before running the batch.
Always Add Reinforcement
Rivets and purse feet both carry a point load. Without a reinforcement layer behind them, the prongs or the post pull through soft lining after a few hundred cycles. This is the most common cause of a foot tearing out of a bag base.
Fold Prongs Over the Washer
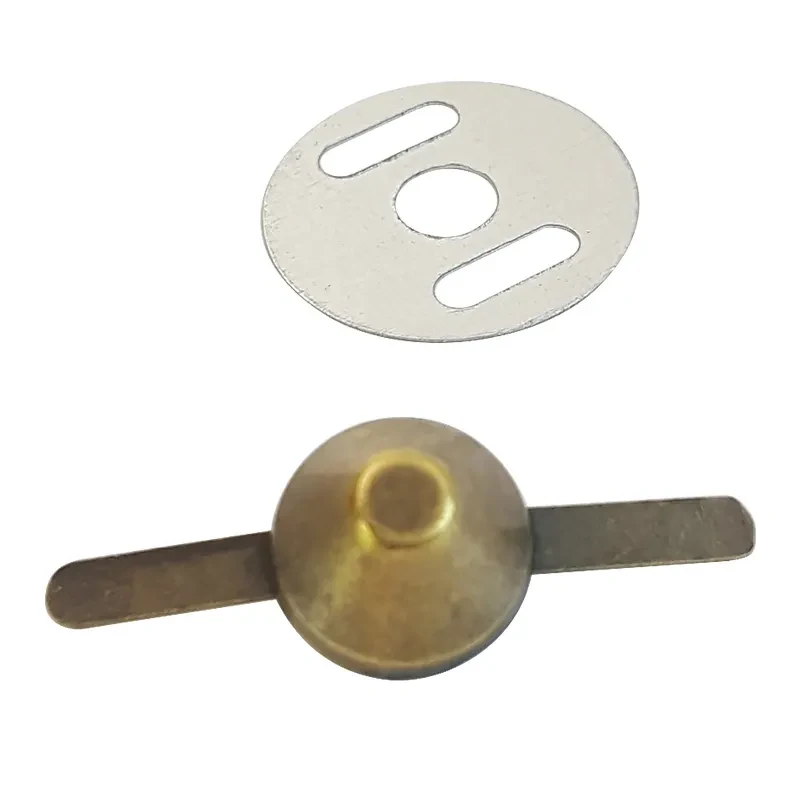
Purse feet are supplied with prongs and a washer. Punch the base and the reinforcement together, pass the prongs through both, then fold them over the washer rather than against the leather.
Place Feet Inside the Seam Line
Feet positioned inside the base seam put their load into the reinforced area. Four feet is the normal pattern on a rectangular base, with a fifth centre foot on bases longer than about 40 cm.
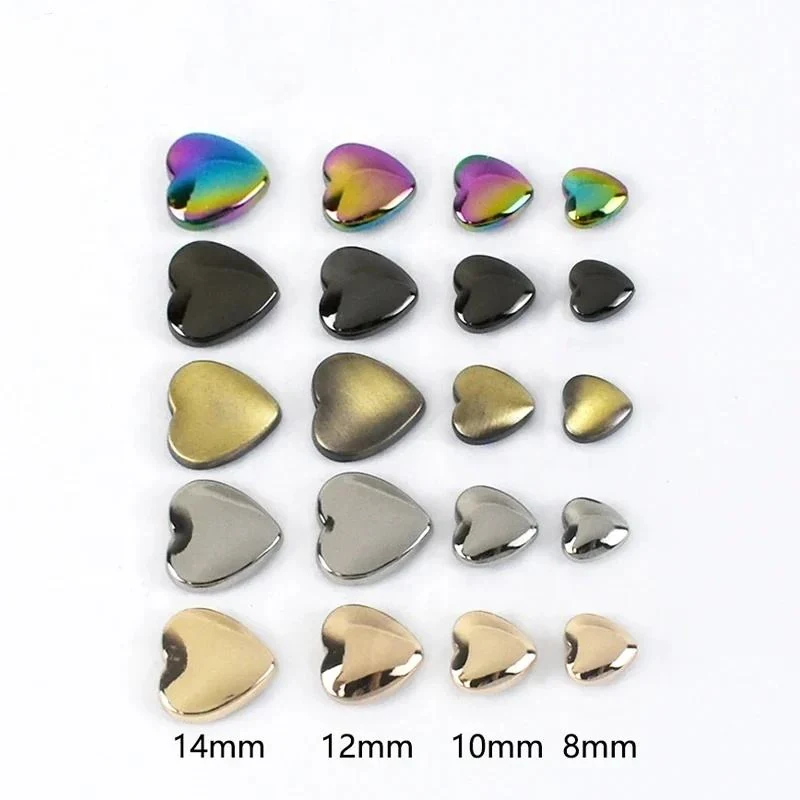
Parts This Guide Refers To
Questions About This Guide
Answers to the questions buyers ask before they order.
How Long Should the Rivet Post Be
Roughly 1 mm longer than the total thickness of every layer it passes through. Send us your stack thickness and we will select the post for you.
How Many Purse Feet Does a Tote Base Need
Four for a normal rectangular base, and five with a centre foot once the base is longer than about 40 cm. Feet are supplied per piece so you can set your own pattern.
Send Us the Part You Are Specifying
A photograph and a webbing width are usually enough for us to say which catalogue style fits and what it costs.