
Tyre Levers
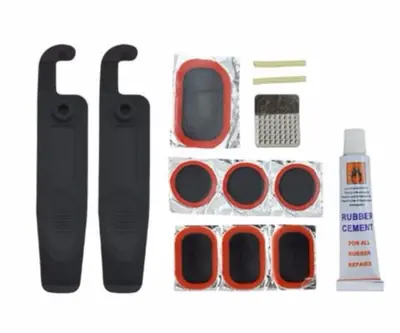
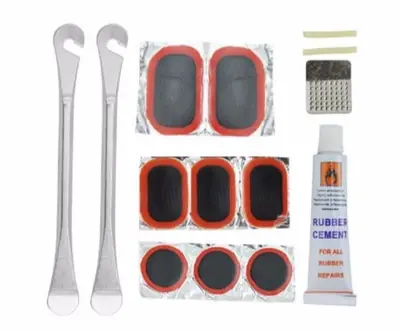
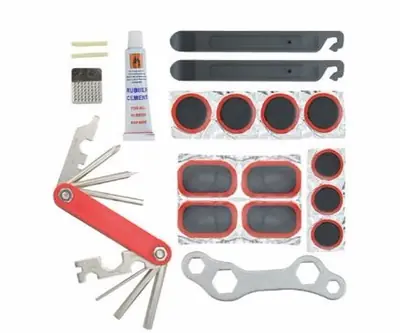
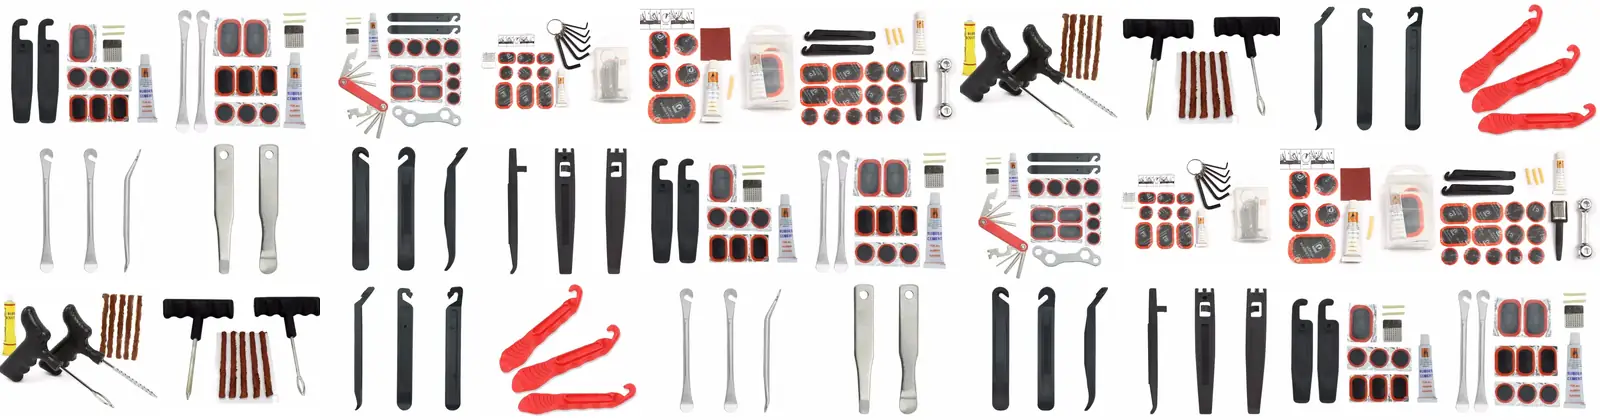
Levers get the tyre bead over the rim without damaging the rim or pinching the tube. Plastic levers are standard because they will not gouge an alloy or carbon rim, but plastic alone flexes on a tight tyre, which is why several patterns use a steel core inside a plastic shell.
The hook on the tail of a lever anchors it to a spoke so one hand can free while the second lever works round the rim. Two levers is the practical minimum, three is comfortable.
Rasp or Sandpaper
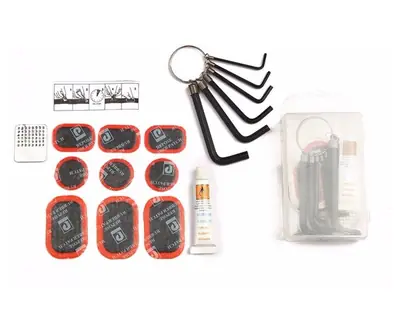
The tube surface has a mould release layer and a slight sheen. Patches do not bond to it. A metal rasp or a piece of abrasive paper keys the surface around the hole so the cement and patch can grip.
The abraded area should be larger than the patch on every side. Under-abrading is the single most common reason a roadside repair lifts a week later.
Rubber Cement and Patches
Traditional patches are used with a vulcanising solution. The solution is spread over the abraded area and left until it is touch-dry — it is a bonding agent, not a glue that is used wet. The patch then goes on and is pressed from the centre outwards.
Self-adhesive patches skip the cement and are faster, which suits a roadside kit or a retail impulse item. They are less tolerant of a poorly prepared surface, so the rasp still matters.
Case and Kit Format
A kit is defined by its case as much as its contents. A slim plastic case fits a saddle bag; a tin merchandises better on a shelf; a blister card hangs on a hook and shows the contents through the front.
For a retail programme the content list, patch count, lever count, case type and printed instruction sheet are all specified at order stage.
What To Check On Arrival
Cement tubes should be sealed and full — solvent loss in storage is the usual failure. Patches should be flexible with intact backing foil. Levers should not show flash or sharp edges along the parting line.
For a buyer running repeat orders, these three checks catch most of what goes wrong in a low ticket accessory line.