
installation guide
Exhaust Header Installation And Torque Practice
A working sequence for fitting stainless headers without leaks, warped flanges or snapped studs.
Before The Car Comes In
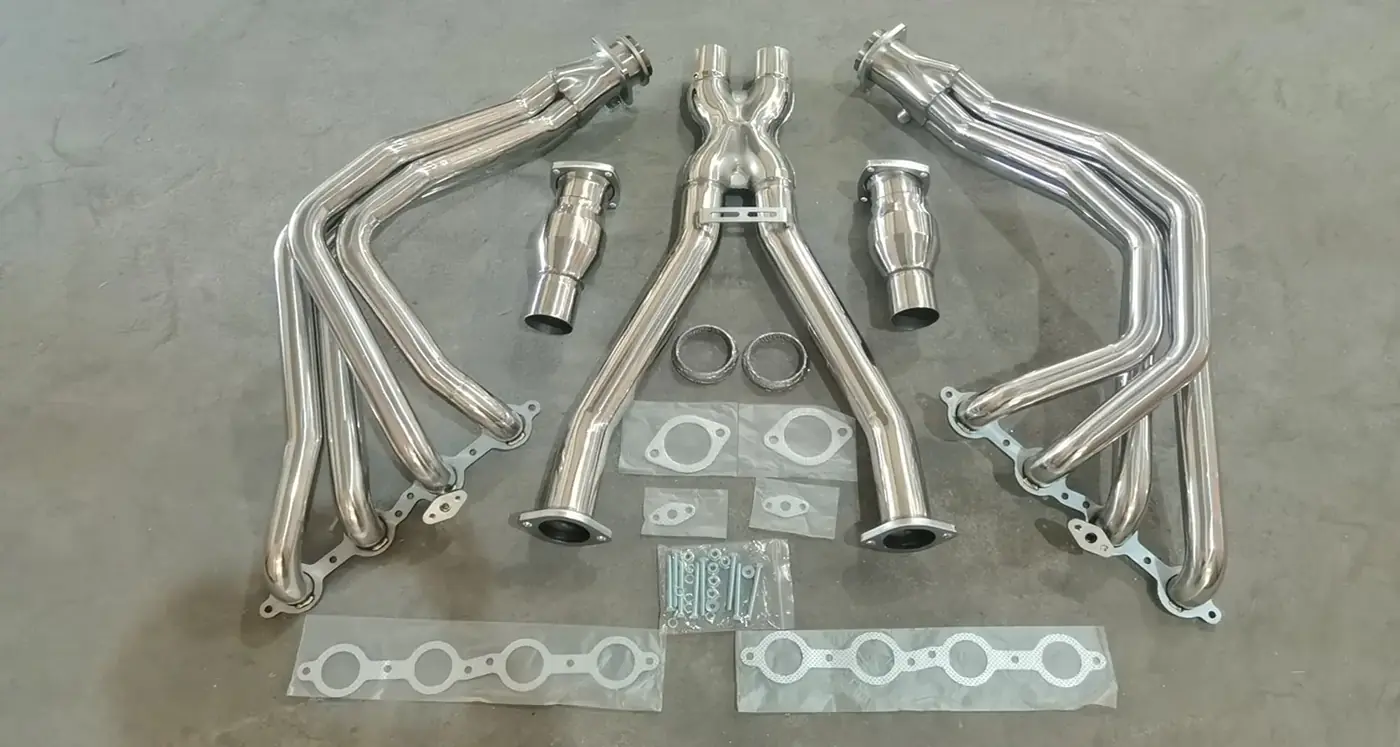
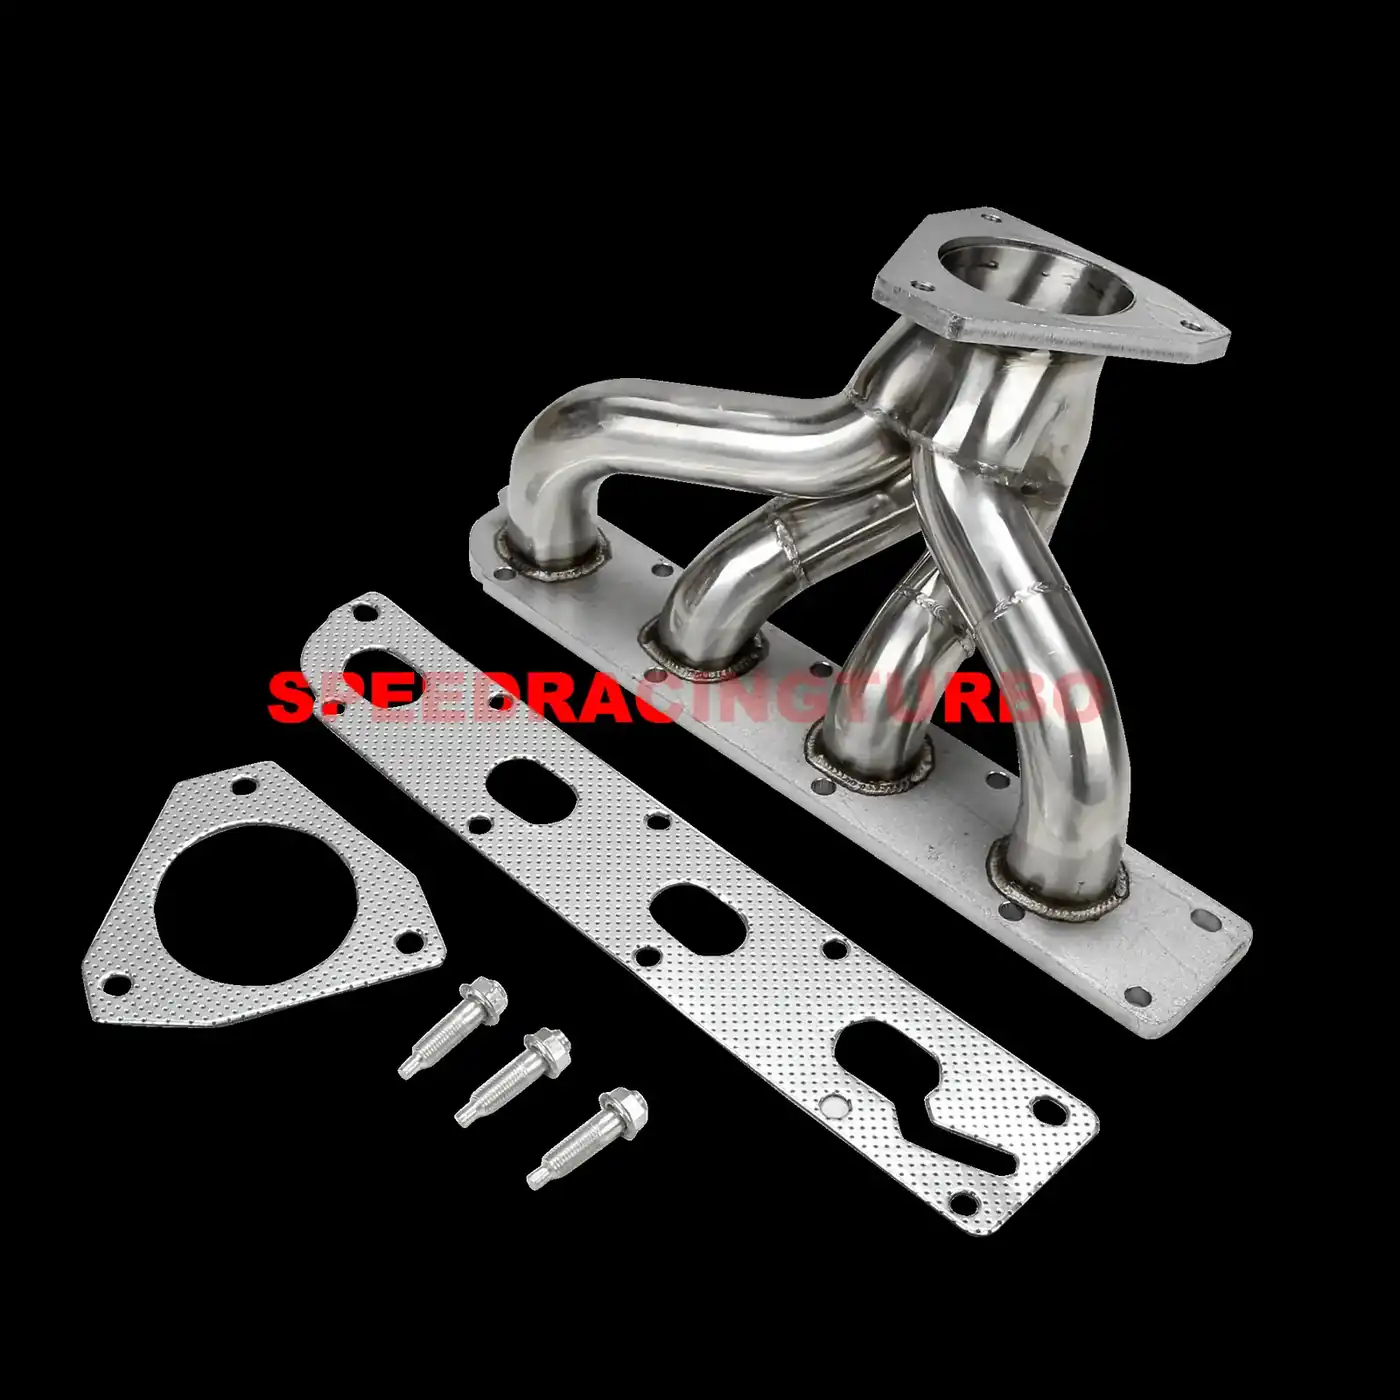
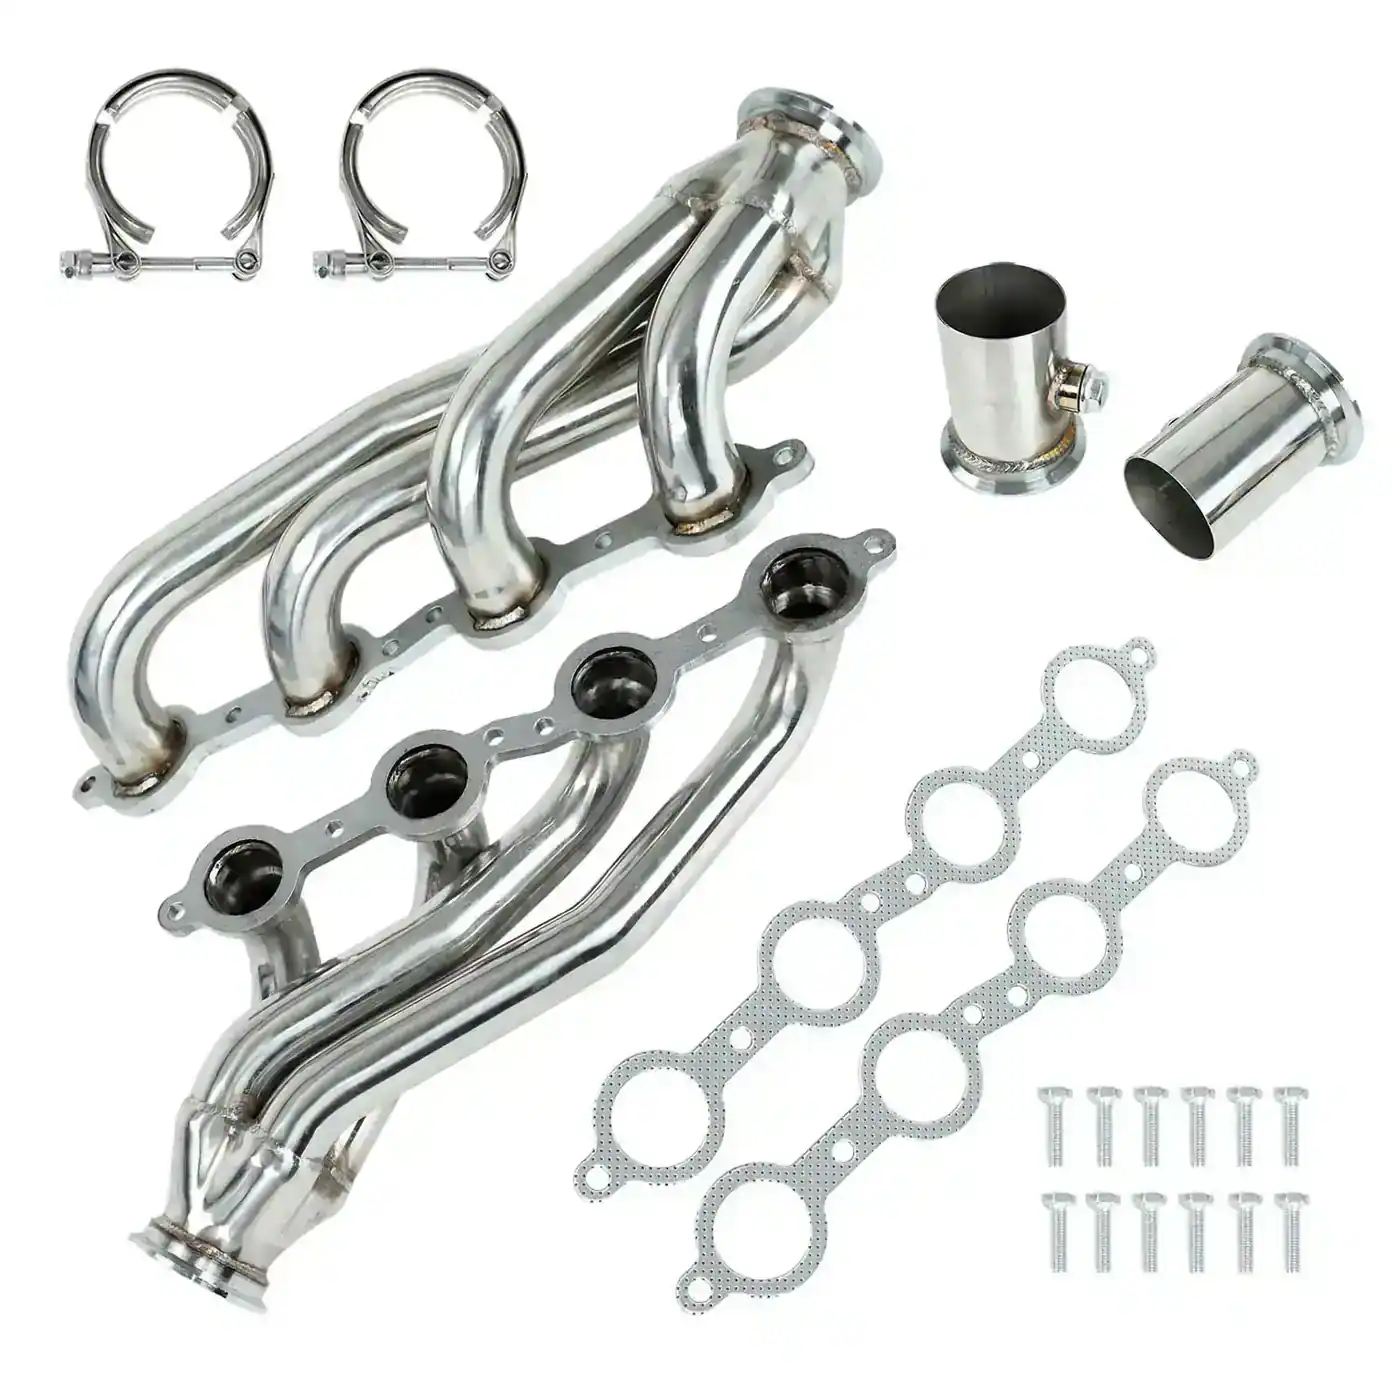
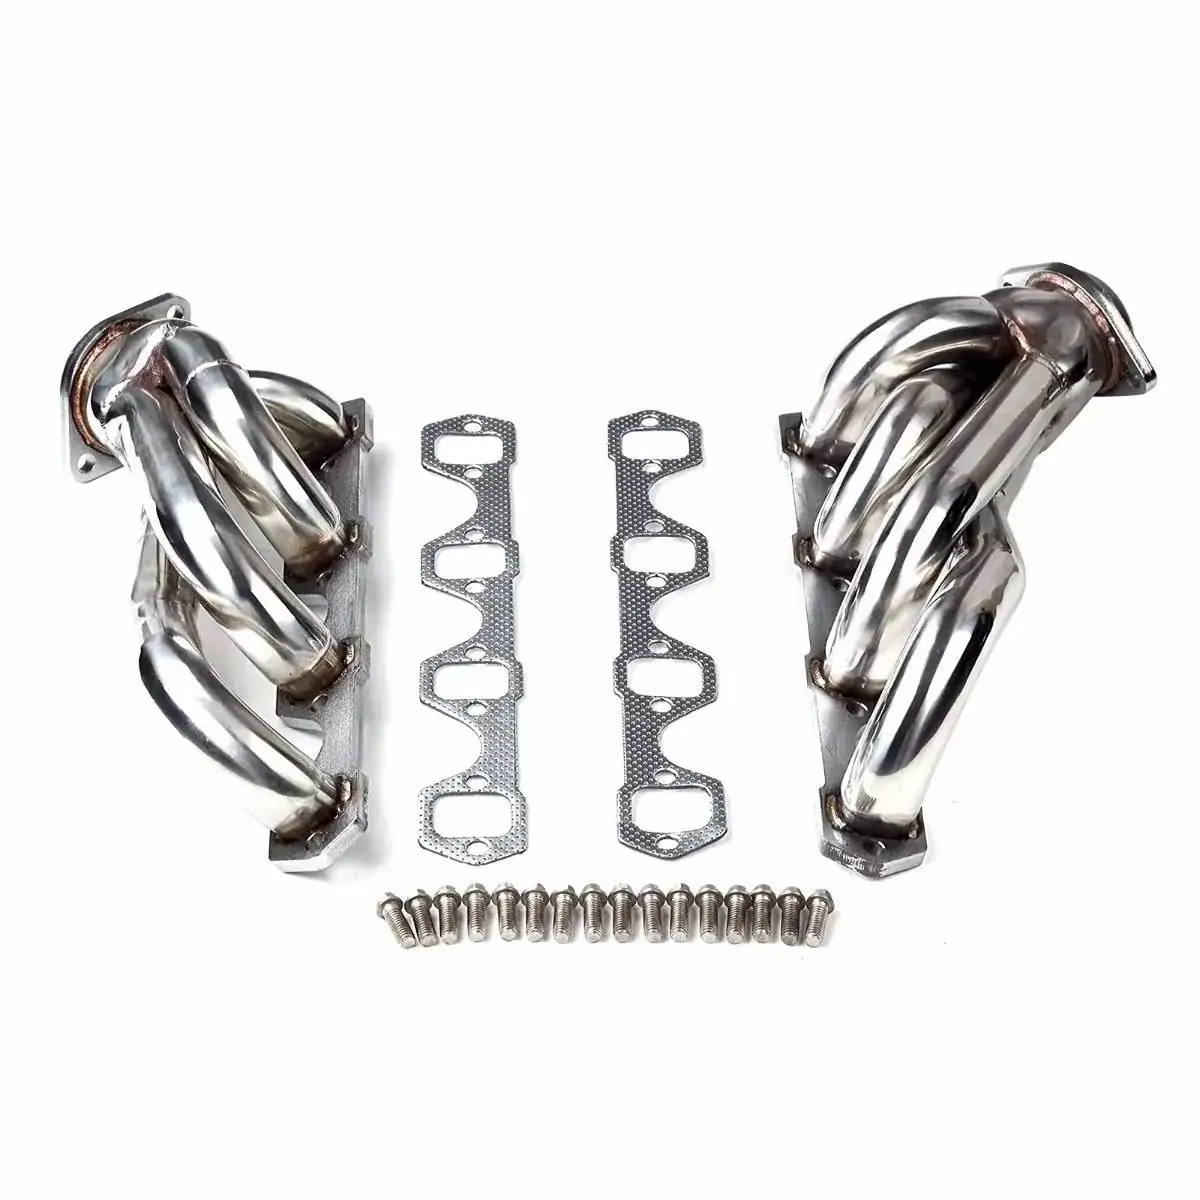
Confirm the part number against the vehicle year, engine and any cylinder head changes. Check the package contents so you know whether gaskets and hardware are in the box. Instructions are not supplied with these parts, so the shop should plan the job as a manifold replacement rather than expecting a step by step sheet.
Removal
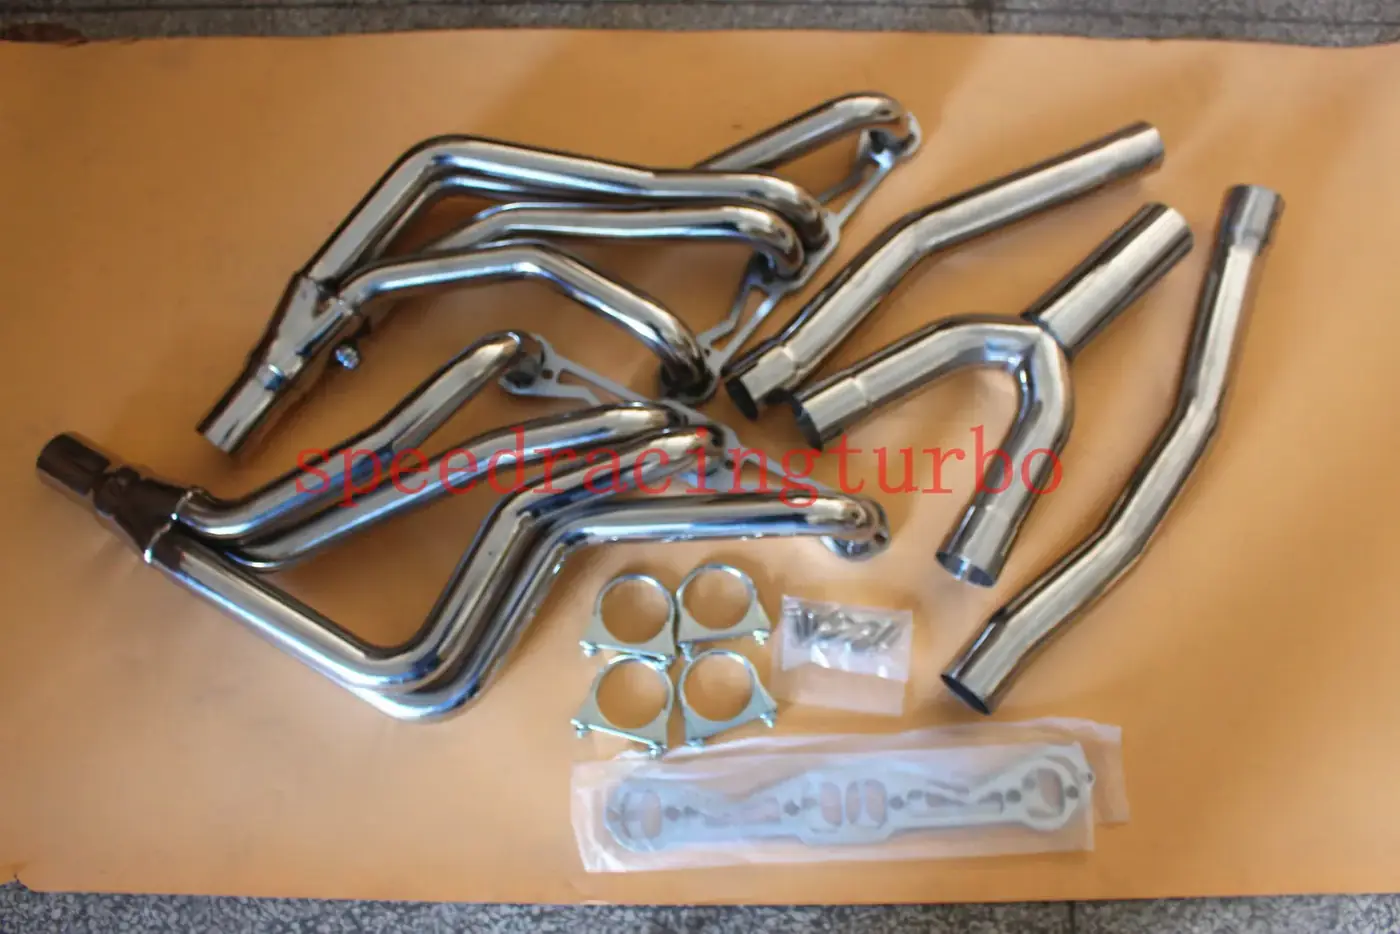
Let the exhaust cool completely. Penetrating fluid on the manifold studs the day before saves broken studs on the day. Take sensors out before they are damaged rather than working around them.
Fitting
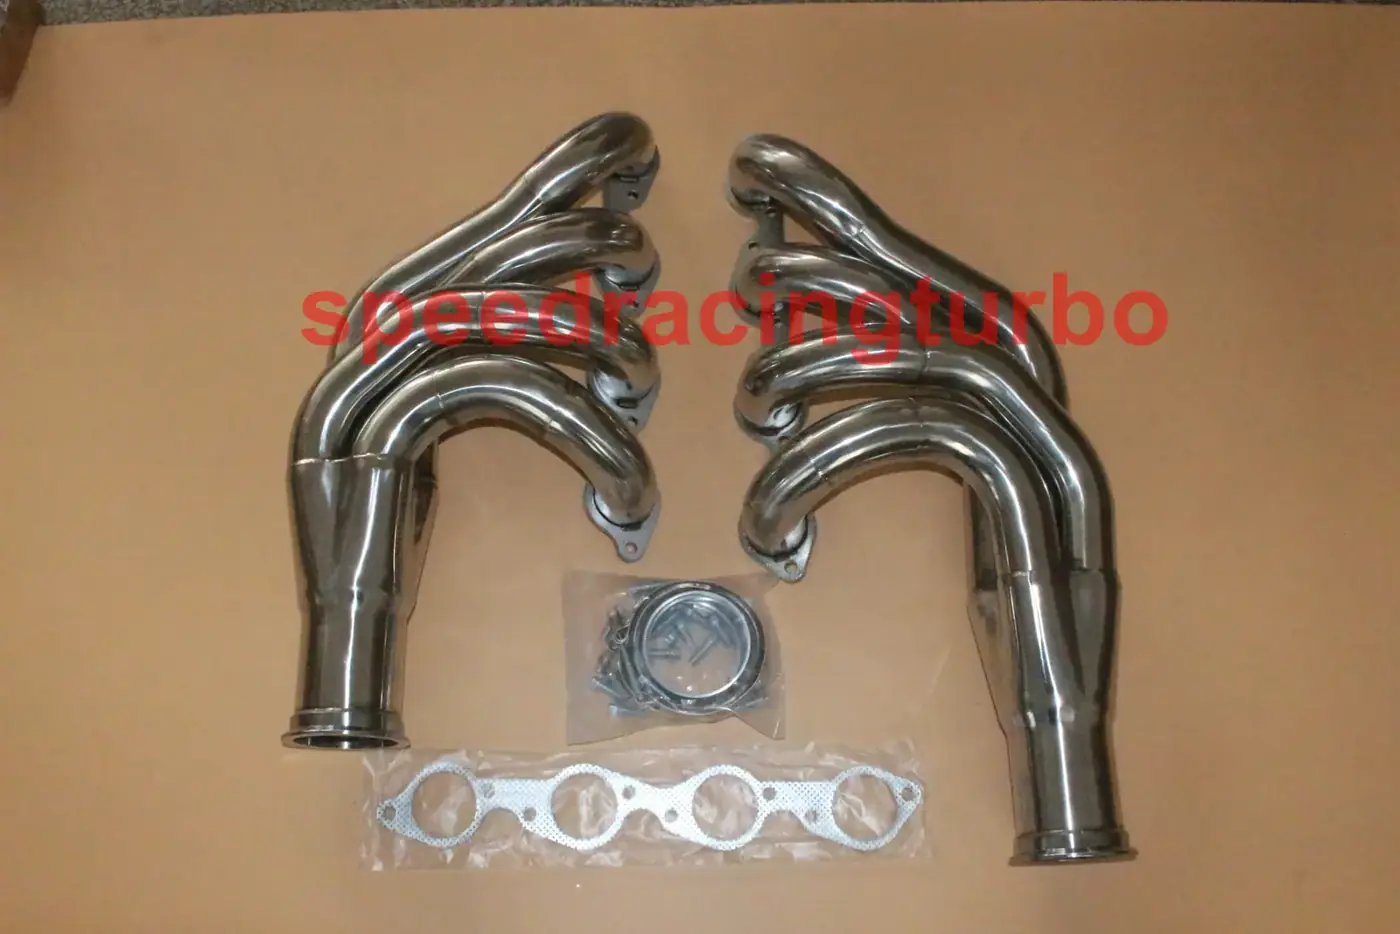
Test fit the header dry before any gasket goes in, especially on swap chassis where clearance to the steering box and floor is tight. Start every fastener by hand. A cross flange started crooked is what cracks a flange later.
Torque And Recheck
Tighten in a cross pattern in stages rather than running each bolt down in turn. Keeping the sealing face flat is what stops the leak, not brute force. After the first heat cycle, let everything cool and recheck the torque, then check again after the first proper drive.
Common Causes Of A Comeback
Reused gaskets, uneven torque, a sensor left disconnected, and a collector bolted up under strain because the rest of the exhaust is hanging wrong. All four are avoidable in the last ten minutes of the job.
Related categories
Parts covered
Products This Guide Applies To
Answers
Questions On This Topic
Do your headers come with instructions?
No. Instruction sheets are not included and professional installation is recommended. The fitting sequence above covers normal practice.
Should I reuse the factory gaskets?
No. Use fresh gaskets. Where a part number includes gaskets, the package contents on the product page say so.
How soon should the flange bolts be rechecked?
After the first full heat cycle, once the parts have cooled, and again after the first proper drive.
Ask Before You Order
A two line email about the vehicle and the job saves a return later.