
Maintenance Guide
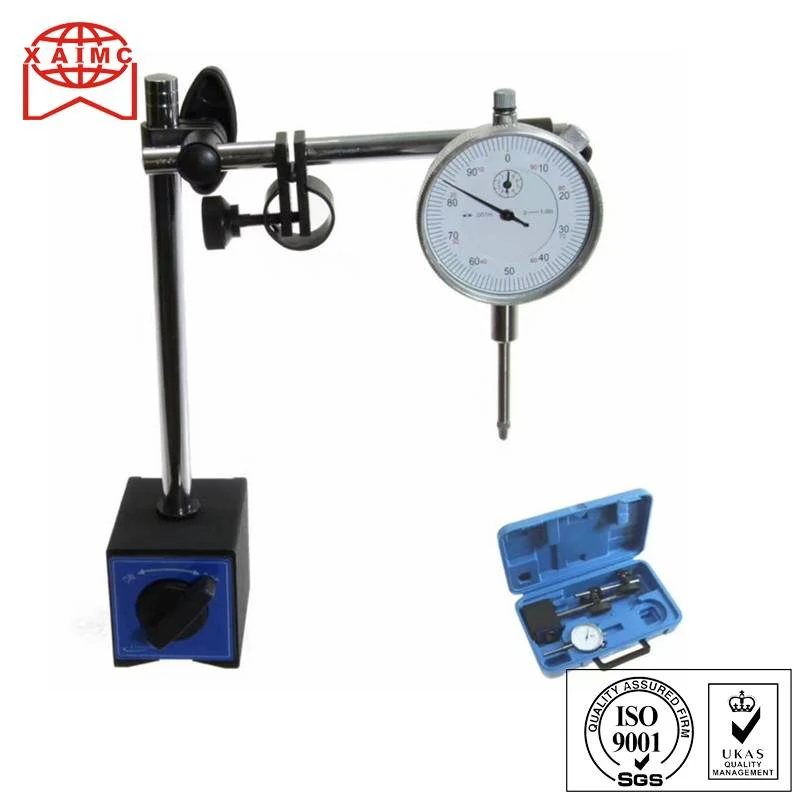
Measuring Bores With Dial Bore Gauges
A dial bore gauge is a comparator, not an absolute instrument. Everything about using one correctly follows from that.
Setting the Gauge
The gauge measures the difference between the bore and a reference you set. That reference is a micrometer, a setting ring or a gauge block stack, and the accuracy of your measurement can never exceed the accuracy of that setting.
Set the gauge at the same temperature as the part. A block straight from a hot wash and a setting micrometer from a cool bench will disagree, and the gauge will faithfully report the disagreement as taper.
Rocking for the Minimum Reading
The measuring head must pass through the true diameter. Rock the gauge gently across the bore axis and take the point where the needle reverses, which is the minimum reading and the true diameter.
Taking whatever the needle shows on first contact is the single most common error, and it always reads oversize.
Taper Ovality and Where to Measure
Measure at the top, middle and bottom of the bore and in two axes at ninety degrees. Three heights give taper, two axes give ovality, and both matter more than a single diameter figure.
In an engine cylinder the wear is usually greatest just below the top ring reversal point, so measure there deliberately rather than averaging the bore.
Recording and Interpreting
Write the figures down at the machine. A rebuild argued about six months later is settled by a measurement sheet, not by memory.
Compare against the manufacturer's service limits, not against a general rule. Different engines tolerate different wear before an oversize is required.
Looking After the Instrument
Keep extensions and anvils with the gauge and check that the set matches before starting a job. Handle the measuring head as a precision item; a dropped gauge is a suspect gauge until proven otherwise.
Check the gauge against a setting ring periodically. Instruments drift quietly, and a drifting bore gauge produces a shop full of parts that are all wrong by the same amount.
Machines Referenced in This Guide
Related Machines
Models That Match This Guide
Answers
Questions About Measuring Bores With Dial Bore Gauges
Can a dial bore gauge be used without a micrometer?
It needs some reference to be set against, which can be a micrometer, a setting ring or gauge blocks. It cannot read absolute size on its own.
Why does my gauge read oversize?
Almost always because the gauge was not rocked to find the minimum reading, or because it was set at a different temperature to the part.
How many readings should I take per bore?
At least three heights in two axes, so six readings, which gives taper and ovality.
What accuracy can I expect?
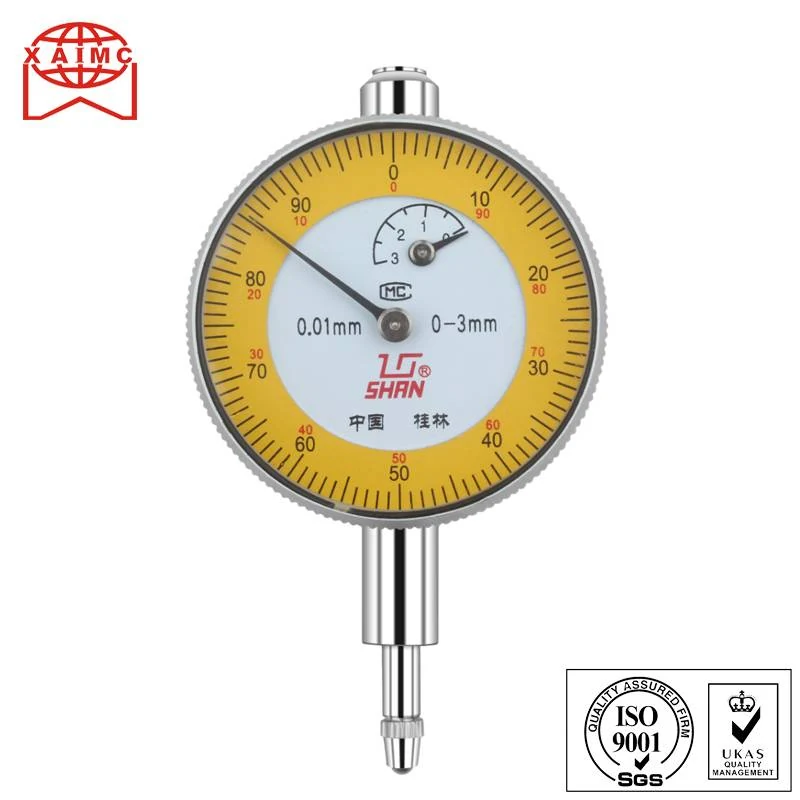
Typical shop gauges read to 0.01 mm or 0.001 mm depending on the instrument, but the practical accuracy is limited by the setting reference and by technique.
How often should the gauge be checked?
Against a setting ring regularly, and always after the instrument has been dropped or after a long period unused.
Still Choosing Between Models
Send the part drawing and the output you need. We answer with a model and a reason, not a catalogue.